
Mowing the lawn is an enjoyable task when you have a nice, flat garden. But, when you have to maneuver over lumps and bumps, it can become quite a tedious task. A level lawn doesn’t just look great and make for easier maintenance. It can have a few other advantages too. For example, gardens that have drainage and waterlogging issues can benefit from a level garden as it will encourage water flow away from your property, whilst allowing more water to be absorbed into the soil, adding needed nutrients. Wondering how to level your garden?
This guide will not only teach you that, but it will also reveal the most common causes of an uneven lawn.
Table of Contents
What Causes a Lawn to Be Uneven?
There is no one, single culprit that can be blamed for an uneven garden. However, here are some of the most common reasons why your garden is not leveled.
Animals
The most common reasons why you have an uneven garden are animals. And, we mean any animal, from your neighborhood cat to sly foxes searching for food. Animals are known for straying into gardens and searching for food, usually during the months when your lawn is vulnerable the most. So, keep an eye out on animals and try to find a way to prevent animals from entering.
Kids
Believe it or not, your children might be the reason why your lawn is uneven. Playing on soft soil can put a large amount of pressure on the lawn. This is not only bad for the health of the grass but is also quite likely to cause long term issues for the surface.
Nightcrawlers
Have you heard of nightcrawlers? These are giant earthworms that cause much trouble to all those who try to maintain a perfect lawn. Even though they are just small insects, nightcrawlers can shift between 20 and 25 tons of soil per acre to the surface every year. Luckily, getting rid of these pests is quite easy. All you have to do is keep the pH level of your soil low.
Waterlogging
Weather can also play a big part when it comes to lumps and bumps in your garden, especially during the winter months. If surface water sits on your lawn, it can cause long term damage. This is the reason why getting your drainage right is very important.
Soil Settlement
If none of the factors we mentioned up to now are what’s causing lumps in your garden, then it is time to dig a bit deeper and look underneath the surface. Things that occur beneath the soil, such as rocks, piping, and other debris, can affect the composition of your lawn. The recommended course of action to resolve this issue is to excavate the affected areas so you could break up the rubble underneath.
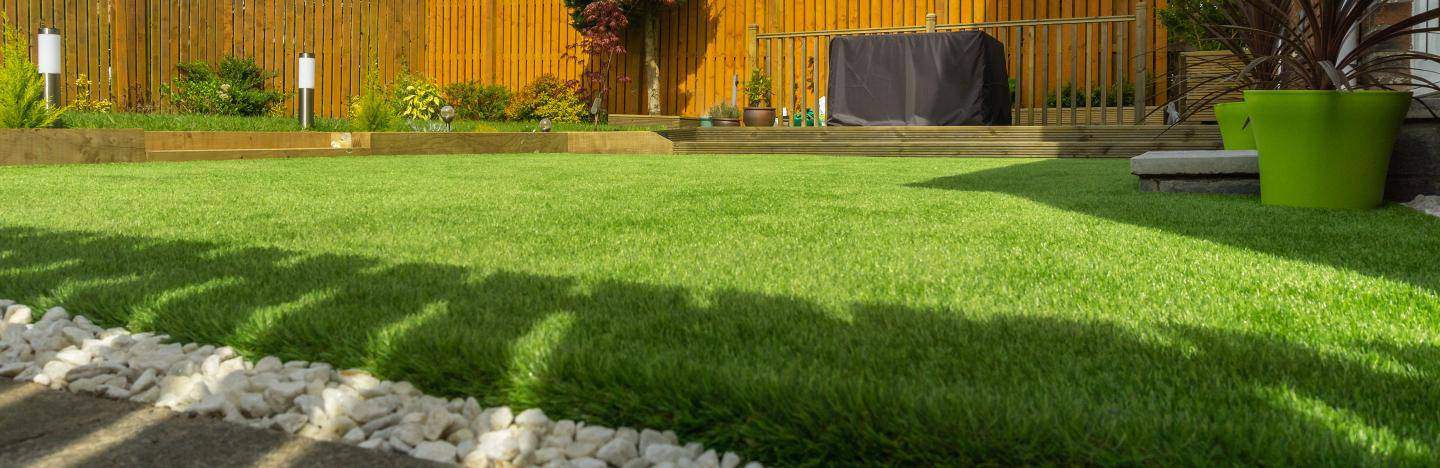
How Much Does It Cost to Level a Garden?

Image Courtesy of Gardening Channel
Leveling a garden might seem like a difficult task only the professional can carry out. Truth be told, you will need to put in some time and effort to do this on your own. But it is definitely manageable.
If you’re still considering hiring a professional, here is an estimate of prices you may need to pay. Keep in mind that leveling a garden doesn’t have a fixed price. It varies from home to home and how much work a garden needs.
If you need to add terraces and cambers, expect to pay some additional fees. Larger gardens also involve more work and a bigger budget, especially if they require sloping beds.
Other factors that increase the cost of leveling your garden are changing the drainage and the run-off. You might want to consider hiring a landscaper with enough experience to evaluate the state of your garden and give you the right recommendations.
On average, professional garden leveling can cost up to:
- £300 for a garden with no slopes
- £450 for dealing with mild slopes
- £600 for dealing with steep slopes
These prices are just an approximate cost and may vary. However, they will give you a good idea on how much money you need to spend.
Leveling the garden on your own requires just some tools and your free time. It may take you up to four or five days to get everything done.
The final decision depends on you. If you have some free time and you consider yourself a skillful person, then you are definitely going to be able to do this on your own. But, if you’re not that familiar with using garden equipment, it’s better to let someone else take care of this for you.
How to Level Your Garden: Preparation
If you noticed that your lawn is looking uneven, it’s time for you to roll your sleeves and start leveling it! But, before you do anything, it is recommended to check your lawn in advance so you could determine how much soil will require leveling and if there are any existing drainage problems. Sometimes, an uneven lawn is just a result of drainage problems or even damaged water pipes.
Search for Low Spots and Drainage Issues
If low spots occur near water pipes, then it is recommended to seek professional advice before doing anything on your own. If you discover any drainage issues, we suggest trying to re-grade the lawn, level it, and create a surface that slopes away from the property to aid drainage and avoid flooding.
You can always fit an underground drainage system by using gravel or flexible drainpipes. Other causes for bumps and hollows can be due to wear and tear, mole damage, drought, or frost.
Pre-Water Your Lawn
It is suggested to water your lawn a few days before you level it. This way, you’ll ensure that the soil is not too hard, dry or powdery when making the adjustments. Keep in mind that overwatering your lawn is also a mistake since wet soil can be just as hard to work with as overly dry soil.
Choose the Right Time
The best time of the year to start making any changes to your garden is in the spring. This will allow your grass seed time to grow whilst providing sufficient moisture for the soil to settle. But, if you can’t wait that long, other seasons can work out as well.
A Guide on How to Level Your Lawn
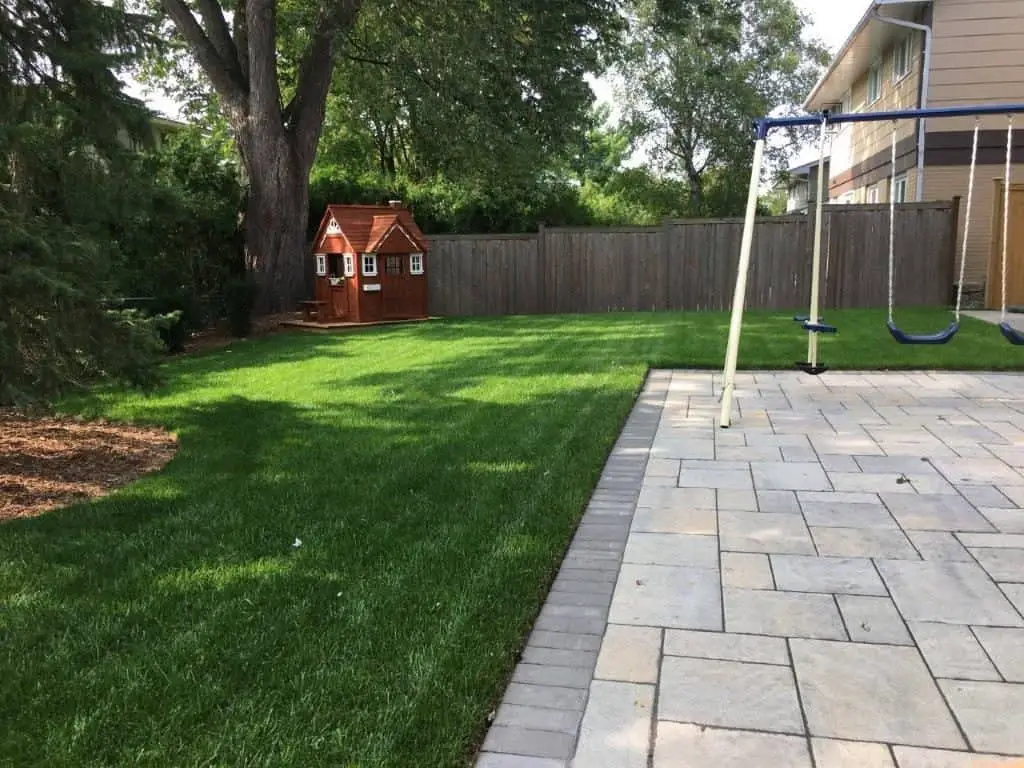
Image Courtesy of DIY Lawn Expert
There are two methods for leveling a lawn, and they depend on the extent of damage to the area. All spots should be checked for depth to help decide which method will work best. Both ways will require the same mixture used when top dressing a lawn.
This will consist of two parts sand, two parts topsoil, and one-part compost. This mixture will fill out the desired areas whilst improving drainage, with the compost allowing for a nutrient-rich soil to be formed.
No products found.
How to Level Shallow Low Spots on Your Lawn
If there are areas that are about 1-2 cm lower than the rest of the soil, you can apply the above-mentioned mixture directly. Just spread a thin layer over the place and distribute it evenly using a garden rake until the spot is completely filled out and level. Then, use your feet and the flat side of the rake to tamp down and compact the soil. Once you do this, you should water the ground lightly. Repeat the process for all shallow spots.
Leave the soil to settle for a few days and then distribute the grass seeds. Once the seeds are in place, lightly dust the topsoil mix one more time and pat down gently with the palm of your hand. For the first 48 hours, the soil will need a light spray of water 4 times per day to assist in germinating the seeds.
Water your lawn regularly and give the grass seeds some time to grow. You can apply the mixture one more time if there are any low or bare spots remaining after it has settled.
How to Level Deep Low Spots on Your Lawn
If there are spots in your garden that have sunk more than 2cm deep, you need to use a slightly different method to level your lawn. First of all, get yourself a squared-off shovel. You will need the shovel to be able to slice into the center and beyond the edges of the bump or hollow in a cross shape. Try to keep the cut as even as possible to make it easier to lift without breaking.
Cut about 4-5 cm deep and slide the shovel beneath to cut each section of the cross horizontally. Make sure to keep the shovel as flat as possible so you could maintain an even thickness of the soil. It is also important that the soil is not too dry; otherwise it will crumble when moved. Gently peel back the edges of the turf until you can lay them flat without breaking.
No products found.
To level a bump in the lawn, make sure to dig out the excess soil until the ground is even with the surrounding area. Tread down and fold the flaps of turf back over.
To fill a hollow, use a garden fork to turn over the soil to about 5cm deep. Remove any large stones and break down any large clumps. Tread down to compact the soil and to reduce the chance of further sinking afterward.
After these steps, you can fill the hole with the mixture until the soil is level with the surrounding area. Then, rake over to break the soil down before folding the flaps of turf back over.
No products found.
And, you’re almost done! The only thing left for you to do is tamp the turf back down. Remember to start at the outer edges of the cross section and work your way towards the center. Fill out any remaining gaps between the cuts with the top dressing to prevent the edges from drying out. You can also sprinkle lawn seed in the gaps to cover and fill them. Remember to water regularly so grass seeds could grow.
And, that’s it! You can use a wooden 2×4 and a spirit level to check the level and the grade of your lawn. Leveling a lawn does require some effort, but it is not that complex, right? Now, you are ready to do this on your own, and you don’t have to call a professional for help anymore.
But, we’re not done yet. Even though this article has taught you how to level your garden, there are a few more tips and tricks we’d like to share with you.
How to Deal with a Sloping Garden?
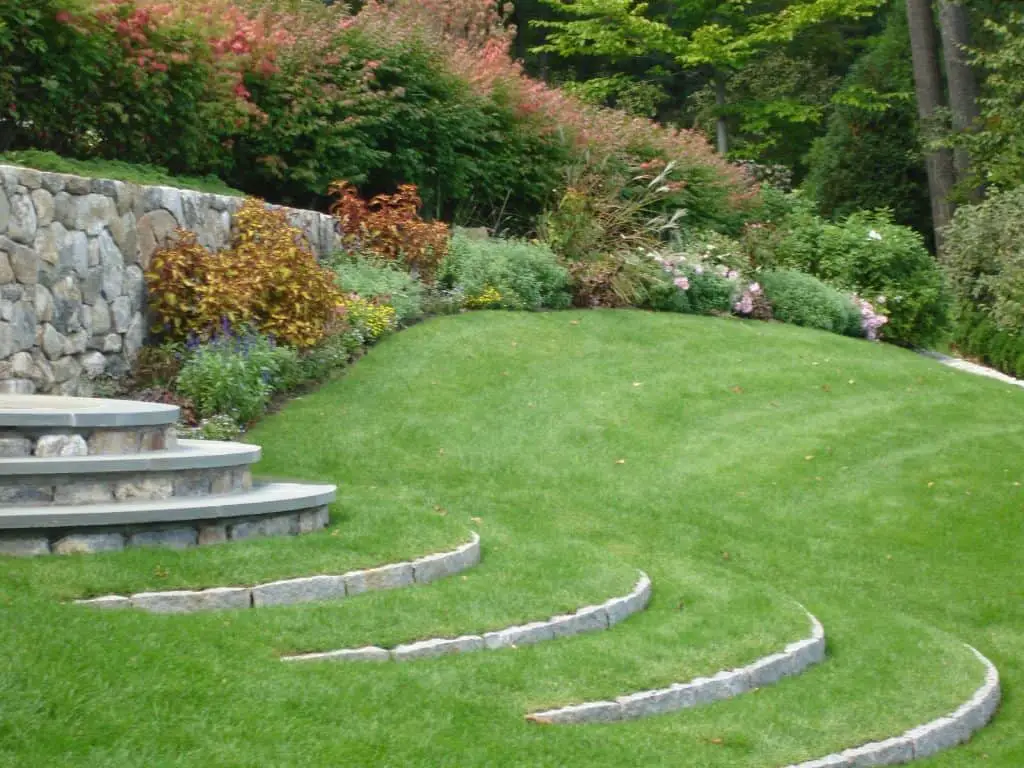
Image Courtesy of Serenity in the Garden
Having a sloping garden can be quite frustrating. But, you can easily fix it if you know the right methods and have the right tools.
Before you get started with preparing your tools for leveling, remember that there is no such thing as a perfectly flat garden. As a matter of fact, having a gentle slope every couple of meters can be even useful as it can aid with drainage. However, if the slope is facing the other way around, you need to install drainage.
Also, if you have a few moderate slopes in your garden, maybe you could save yourself from all the hard work and not level them at all. You can also plant on such slopes, just make sure that there isn’t any exposed soil that leads to erosion or drainage. That’s why planting a natural lawn on this exposed soil is the best way to go.
Create Terraces
If you have a sloping garden, you can try adding terraces to create a stair-look and also different levels for various plants. You can do this by simply moving the soil and adding braces to create the steps of the stair. You may need to rearrange the turf a bit and fill dirt, so you could make the steps more prominent. Don’t forget to place stones, bricks, or even wood around the steps.
Make Sure to Fight Erosion
What is the best way to ensure your soil doesn’t get eroded? You must plant it fast. However, not all plants are good for this purpose. Only plants with deep roots or rhizomes such as irises can keep the terraces in place because their root systems interlock.
Cascading plants such as catmint or garden phlox should be planted on the margins of your terraces to cover the edges and give your garden a more interesting look.
You can also plant one of the terraces with native trees or shrubs that have deep roots. Their roots are deeper and bigger than those of wildflowers, so they have more success in fighting erosion.
Last but not least, you can fight erosion by planting veggies on one of the terraces. Vegetables also do a great job at improving drainage.
How to Deal with a REALLY Steep Sloping Garden?
If you’re dealing with really steep slopes that can’t be terraced, then the recommended course of action would be taking action as soon as possible. Such slopes can be quite tricky, and they can even affect the foundation of your house.
There are two ways to deal with steep sloping gardens – the terrace option and the no-terrace option.
The Terrace Option
You can tackle steep slopes with terraces, but you will need to make them much higher and more reinforced. You can try using materials such as:
- Breezeblocks
- Concrete blocks
- House bricks
- Gabion cages
- Railway sleepers
- Stone
For all those who are on a budget, an inexpensive choice for terrace walls are reclaimed railway sleepers. These are durable but can be a bit sticky. If you would like to actually sit on your terrace walls, using reclaimed railway sleepers just for the base might be a good idea.
Another budget option would be using gabion cages, which look good and are quite sturdy since they’re made from wire mesh that’s filled with stone or rubble. The store-bought ones are easy to set up, but you can make these yourself if you’re an enthusiast DIY person.
The No-Terrace Option
If terracing sounds too complicated for you, there is a simpler solution – put up a retaining wall. You’ll need to do the following:
- Fill dirt to cover all the space between the top of your land and the top of the wall;
- Get quality materials to build the wall, like the ones listed above.
The optimal maximum height of the wall you build should only be 70 cm. A higher wall takes up too much pressure from the surrounding turf and all the rainwater that accumulates around it. In other words, a wall that’s too tall could fall down due to all the pressure it’s exposed to.
We hope that by the end of this article, you managed to learn how to level your garden. This may seem like a too difficult task at first, but don’t be discouraged. If you have some gardening experience, then you will definitely be able to do this on your own. What is it going to be? Will you try to level your garden on your own, or will you hire a professional? Share your decision in the comments!
P.S. Don’t forget to check out our creative garden design ideas for some inspiration!
