
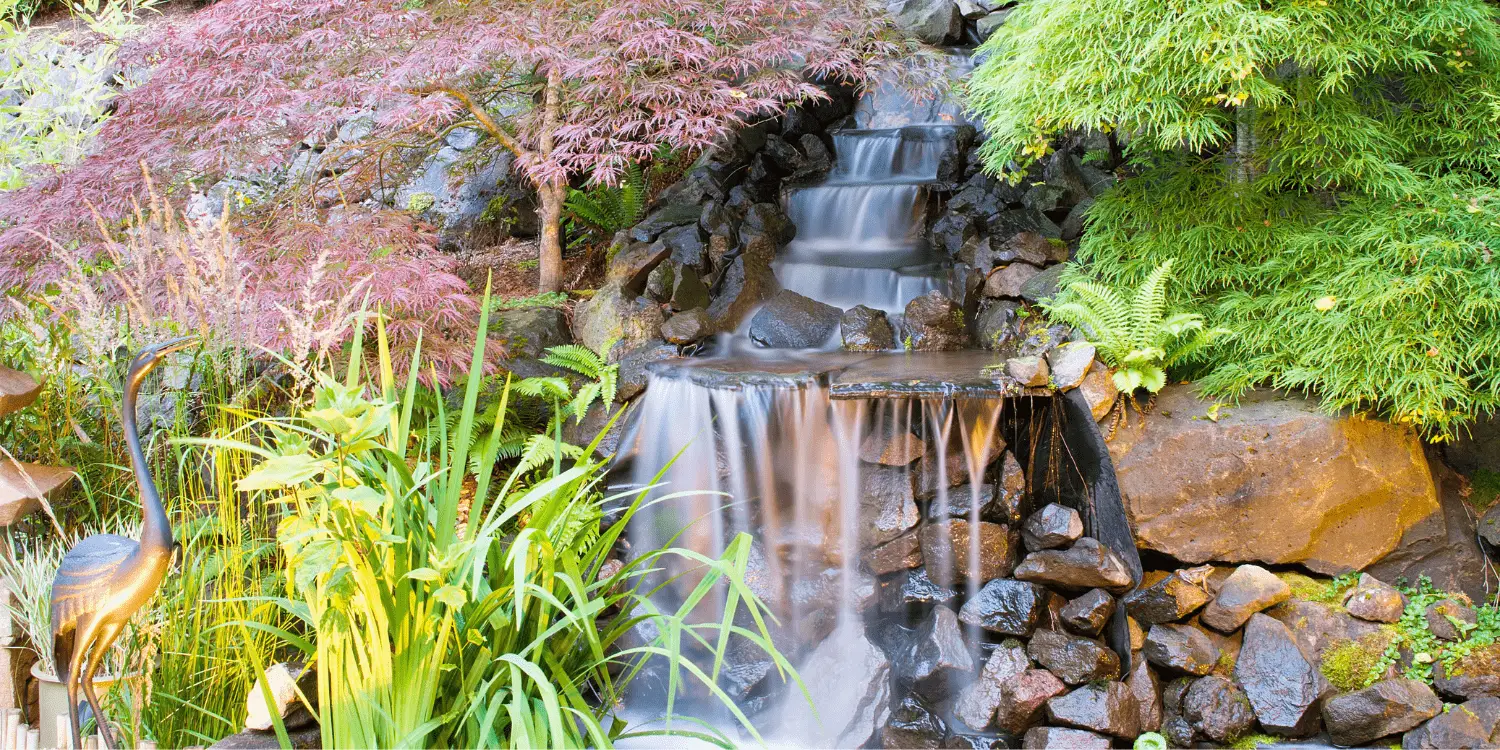
Building small waterfalls can be a very satisfying project. They’re not terribly expensive to build and don’t take much time either. In fact, small waterfalls can be built with a small budget and a small timeframe. All you need is the proper equipment and some time to spend working on your small waterfall project.
A small waterfall is a great addition to any backyard, and it’s easy to build. The waterfall adds beauty and tranquility to any setting, so let’s get started!
Another Interesting Read: How To Start A Indoor Bonsai Garden?
Table of Contents
Gather the Following: Waterfall Stone and Other Materials
The first step in building a small waterfall is to gather the stones. You can use any type of small rocks or pebbles, but it’s best to use small rectangular-shaped stones because they are easier to lay down. To create your small waterfall effect, you will need about 80 small stones for this project.
It’s also important that the stones are flat on one side so that when you stack them up, they all interlock together to form a kind of wall. The other side should have various-sized nooks and crannies in order for the water to flow through easily.
Next, it’s time to pick out an appropriate spot where the small waterfall will be built in your backyard. If you live in a warmer area where there is a small stream or a river nearby, it’s best to find the small waterfall stones from that waterway so they have matching color and texture.
Dig a Hole and Frame It All Up
After you have selected the small waterfall stones and graph paper, it’s time to start building the small waterfall. Now one of the most important things to do is to dig a small hole, which will act as both the reservoir for your small waterfall design and the actual small waterfall itself.
First, use a shovel or other digging tool, to dig out an area about 10 inches in width by 16 inches in length underneath where every small fountain in your small waterfall is going to be built. The bottom of this small hole must be level so that when you place each small stone down, they all sit flat on top of each other without creating any gaps or slides in between them.
Once you dug out the small hole, you can now build the small waterfall frame. To do this, place 3 small stones at one end of the small hole and use small pegs (like small nails) to keep them together. Then, proceed to lay down your graph paper directly on top of these three small stones. Once that is done, continue placing small stones around each of the squares on the graph paper until you have completely surrounded it with small rocks.
Make the Mesh Support Grid
Once the small waterfall frame is complete, you will have a small hole in your backyard with a small grid of small stones surrounding each square on the graph paper. Now it’s time to add a mesh support grid that will keep these small stones in place and prevent them from shattering when the stack begins to rise because of pressure from the water.
To do this, simply take an old wire mesh such as army netting (or any other type of small wire fencing) and cut or rip it into small strips around 2 feet long and about ½ inch wide. Then, starting at one end of your small waterfall area, make sure that none of these small strips touch each other (they should be spaced slightly apart).
Take small stones and place them in between the small strips until you reach the other end. If you need to secure these small stones in place, simply wrap them around a small strip and use small pegs (like small nails) to hold them together.
Stack the Stone
After the small waterfall grid and stones are in place, you can begin stacking small waterfalls on top of each other. If there is space, keep adding small stones to stack up small waterfalls until they reach the level desired. Also, make sure that the small stone stacked upon each other is all flat, and even so, your small waterfall looks like a single-layer small waterfall.
Once you have reached the desired height of waterfalls, add water slowly until it reaches about an inch high from underneath where all small fountains will be built. This ensures that when any extra pressure builds up because of the volume of water used or due to wind (leaf blower), none of these small stones scatter outwards and damage your small waterfall design.
Once you have reached the desired height, it’s time to add small stones around each small fountain in order to finish off the small waterfall design. These waterfall finishing touches will also ensure that rainwater can continue to run through these small waterfalls without creating any damaging puddles on top of them or starting erosion beneath them.

Install the Pump, and Watch the Water Flow Come Out
Install small pumps at the base of small fountains. Also, make sure that no waterfalls are touching each other. If waterfalls are in direct contact with each other, this can create a large gradient of small stones stacked up on top of each other and increase the chances of your waterfall structure collapsing down due to weight, especially if you haven’t installed mesh support grids above them.
On the small fountain where your pump will be installed, make sure there is a hole for easy access to the pump. Once the small waterfall design is complete, you can now add water to all small fountains and begin watching them flow down each small waterfall.
Shim with small stones
Once the small waterfalls are complete and you’ve added small stones or small gravel shims onto your small waterfall mesh support grids, it’s time to begin filling the small fountains with water.
Fill each small fountain until about an inch from the top of small fountains. Once all small water-fountain areas have been filled up, turn on your pumps and watch them run down your waterfall design in a grand cascade of cascades.
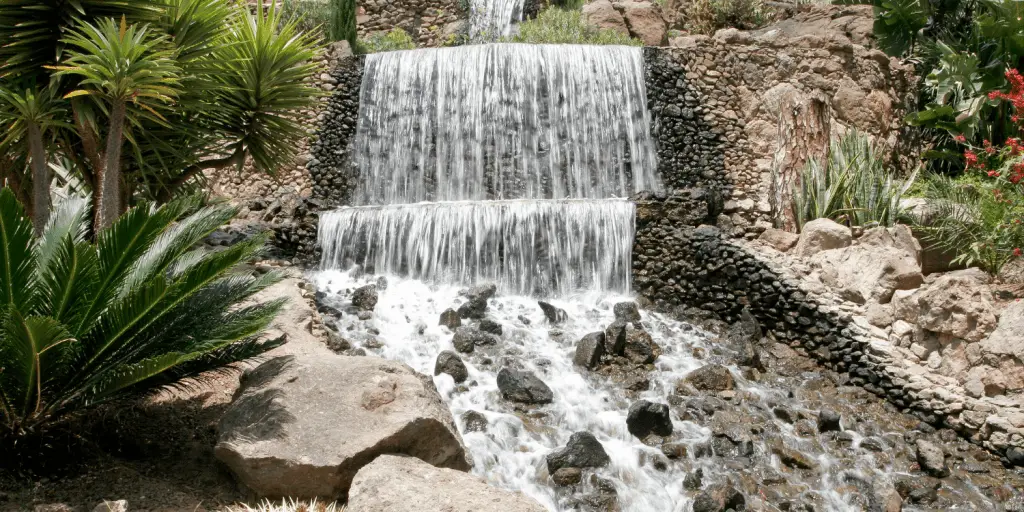
These types of simple backyard designs can be used as a great backdrop for any outdoor party or event, providing a beautiful focal point that guests can picnic underneath. In addition, they make it easy to install a single power source that is needed to run small fountains and waterfalls.
Reroute water with a dam
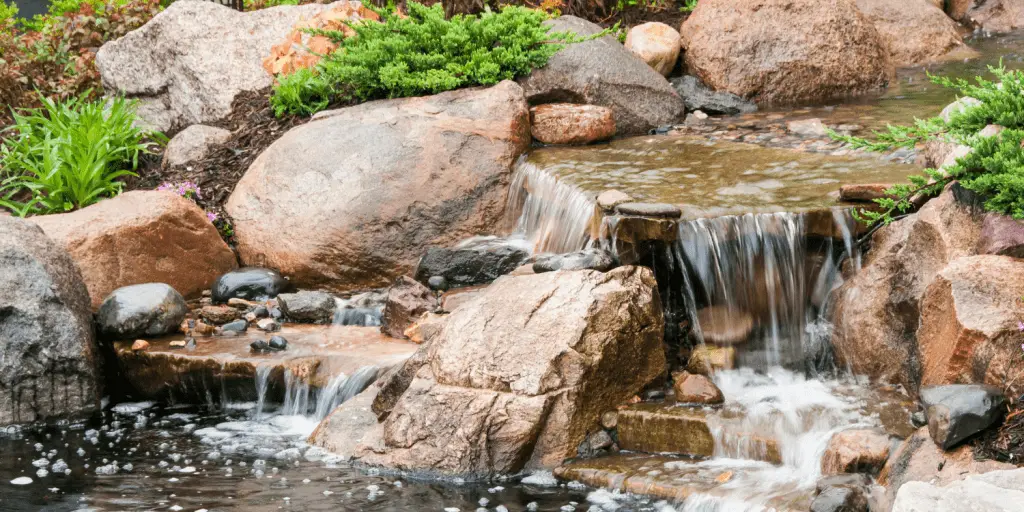
However, small waterfalls are not just for small ponds or small fountains. They can also be used to reroute small streams of water through small dams that typically turn small creeks into waterfalls.
What this means is that if you have a small stream running across your backyard, it’s possible to divert some of the water away from your backyard by building up a small dam wall directly underneath this small stream. Then, all you need to do is dig out under the small pond area where you will place these small stones in order to build up enough pressure until they get pushed over the top of the small dam wall and allow all water to flow down over these cascading walls into awaiting pond or fountain.
Final Words
Waterfalls are an excellent way to add some simple and effective waterfall designs in your own backyard that can be extremely useful when it comes to actually add small fountains and small ponds to your small backyard pond.
Remember, small waterfalls can add a lot of character to any small pond or small fountain, so make sure you consider small waterfalls if you want to add a small pond or small fountain designs into your backyard.
You might be interested in: