
If your hair is on the shorter side, you have probably experienced the struggle of using styling tools on your short strands, and have maybe even decided that those tools are mainly just for women who have longer hair. Truth be told, there are actually a ton of easy ways to style shorter hair even with tools to get the beautiful hairstyle of your dreams. This is why it is important to know how to use tongs on short hair.
While straightening your short hair might be the easiest route when styling, women with short hair can also switch up their look and get gorgeous curls by using tongs. Even with shorter hair creating curls can still be a breeze, as long as you have the proper tools and products for your specific hair type. If you want to mix up your hairstyle and get fun, bouncy curls, here is everything you need to know about how to use tongs on short hair.
Table of Contents
- 1 7 Steps to Using Tongs on Short Hair
- 2 What are Curling Tongs
- 3 How to Choose the Best Curling Tongs for Short Hair
- 4 How to Use Tongs on Short Hair
- 4.1 Step 1: Wash and condition your hair
- 4.2 Step 2: Apply heat protectant to your hair and dry it
- 4.3 Step 3: Separate your hair into sections
- 4.4 Step 4: Begin curling your hair with the tongs
- 4.5 Step 5: Hold the tongs in place and then release
- 4.6 Step 6: Repeat the curling process to all of your sections
- 4.7 Step 7: Complete your beautiful curls
7 Steps to Using Tongs on Short Hair
- Step 1: Wash and condition your hair
- Step 2: Apply heat protectant to your hair and dry it
- Step 3: Separate your hair into sections
- Step 4: Begin curling your hair with the tongs
- Step 5: Hold the tongs in place and then release
- Step 6: Repeat the curling process to all of your sections
- Step 7: Complete your beautiful curls
What are Curling Tongs
Curling tongs are a heated styling tool that change the structure of your hair with the use of high temperatures, to create waves or curls by eliminating your straight strands. They include a cord that you plug into an electrical outlet to heat them up to your desired temperature before use. Curling tongs come in a variety of different shapes, sizes, and materials, so it is crucial to conduct research on them before you purchase one. This will ensure that you find the best option for your particular hair type, especially if you have short hair.
How to Choose the Best Curling Tongs for Short Hair
As stated above, curling tongs can come in many different shapes and sizes. If you have short hair, there are multiple different factors that you should consider before purchasing curling tongs, to make sure that it works correctly on your hair and that you get the best results from using them.
The material that the curling tongs are made of is very important to think about when choosing one to purchase. Look for curling tongs that are made of either ceramic or titanium, because these materials conduct heat quickly and evenly. This allows heat to be distributed equally across the tongs and on to your hair, while also adding additional shine and reducing frizz.
The size of the barrel is crucial to consider when you have short hair. For very short hair, the barrel should be between 1/2 inch to 3/4 inch in width so that your hair can be fully wrapped in the tongs. If your hair is medium-short, your barrel can be about 1 inch in width. Always make sure that the length of your hair fits within the tongs before purchasing.
The barrel shape of the curling tongs is important as well, especially if your hair is short. The best shape for short hair is a cylindrical shape, because they are the same size throughout the tongs. If you buy tongs with a barrel that is either wider at the top or at the bottom, your hair might not fit all the way in them.
How to Use Tongs on Short Hair
Now that you know what tongs are and what elements are important to consider when purchasing one if your hair is on the shorter side, it is know time for you to learn how to use tongs on short hair.
Step 1: Wash and condition your hair
Freshly washed hair is usually bouncier and fuller especially when you have short hair, which is the goal while creating curls or waves while styling. Shampoo and condition your hair with good-quality shampoo and conditioner. Once you are out of the shower, towel-dry your hair, and plug in your curling tongs so they can begin heating up.
- How to Use Hair Brush Dryer – 7 Simple Steps to a Gorgeous Blowout
- How to Put Heated Rollers in Long Hair – 8 Steps to Beautiful Curls
Step 2: Apply heat protectant to your hair and dry it
Lightly mist heat protectant spray or apply heat protectant serum to your hair to protect it from heat damage. After the heat protectant is applied, blow-dry your hair until is completely dry. You can not use tongs on wet or damp hair, because it will not hold curls correctly and you will have an increase risk of heat damage.
Step 3: Separate your hair into sections
It is important to split your hair into sections before curling with tongs. This helps to ensure that you are curling your hair evenly, and so that you can see what you are doing ahead of time. Grab the top layer of your hair and clip or pin it to the top of your head. If your hair is actually too short to create top and bottom sections, feel free to skip this step.
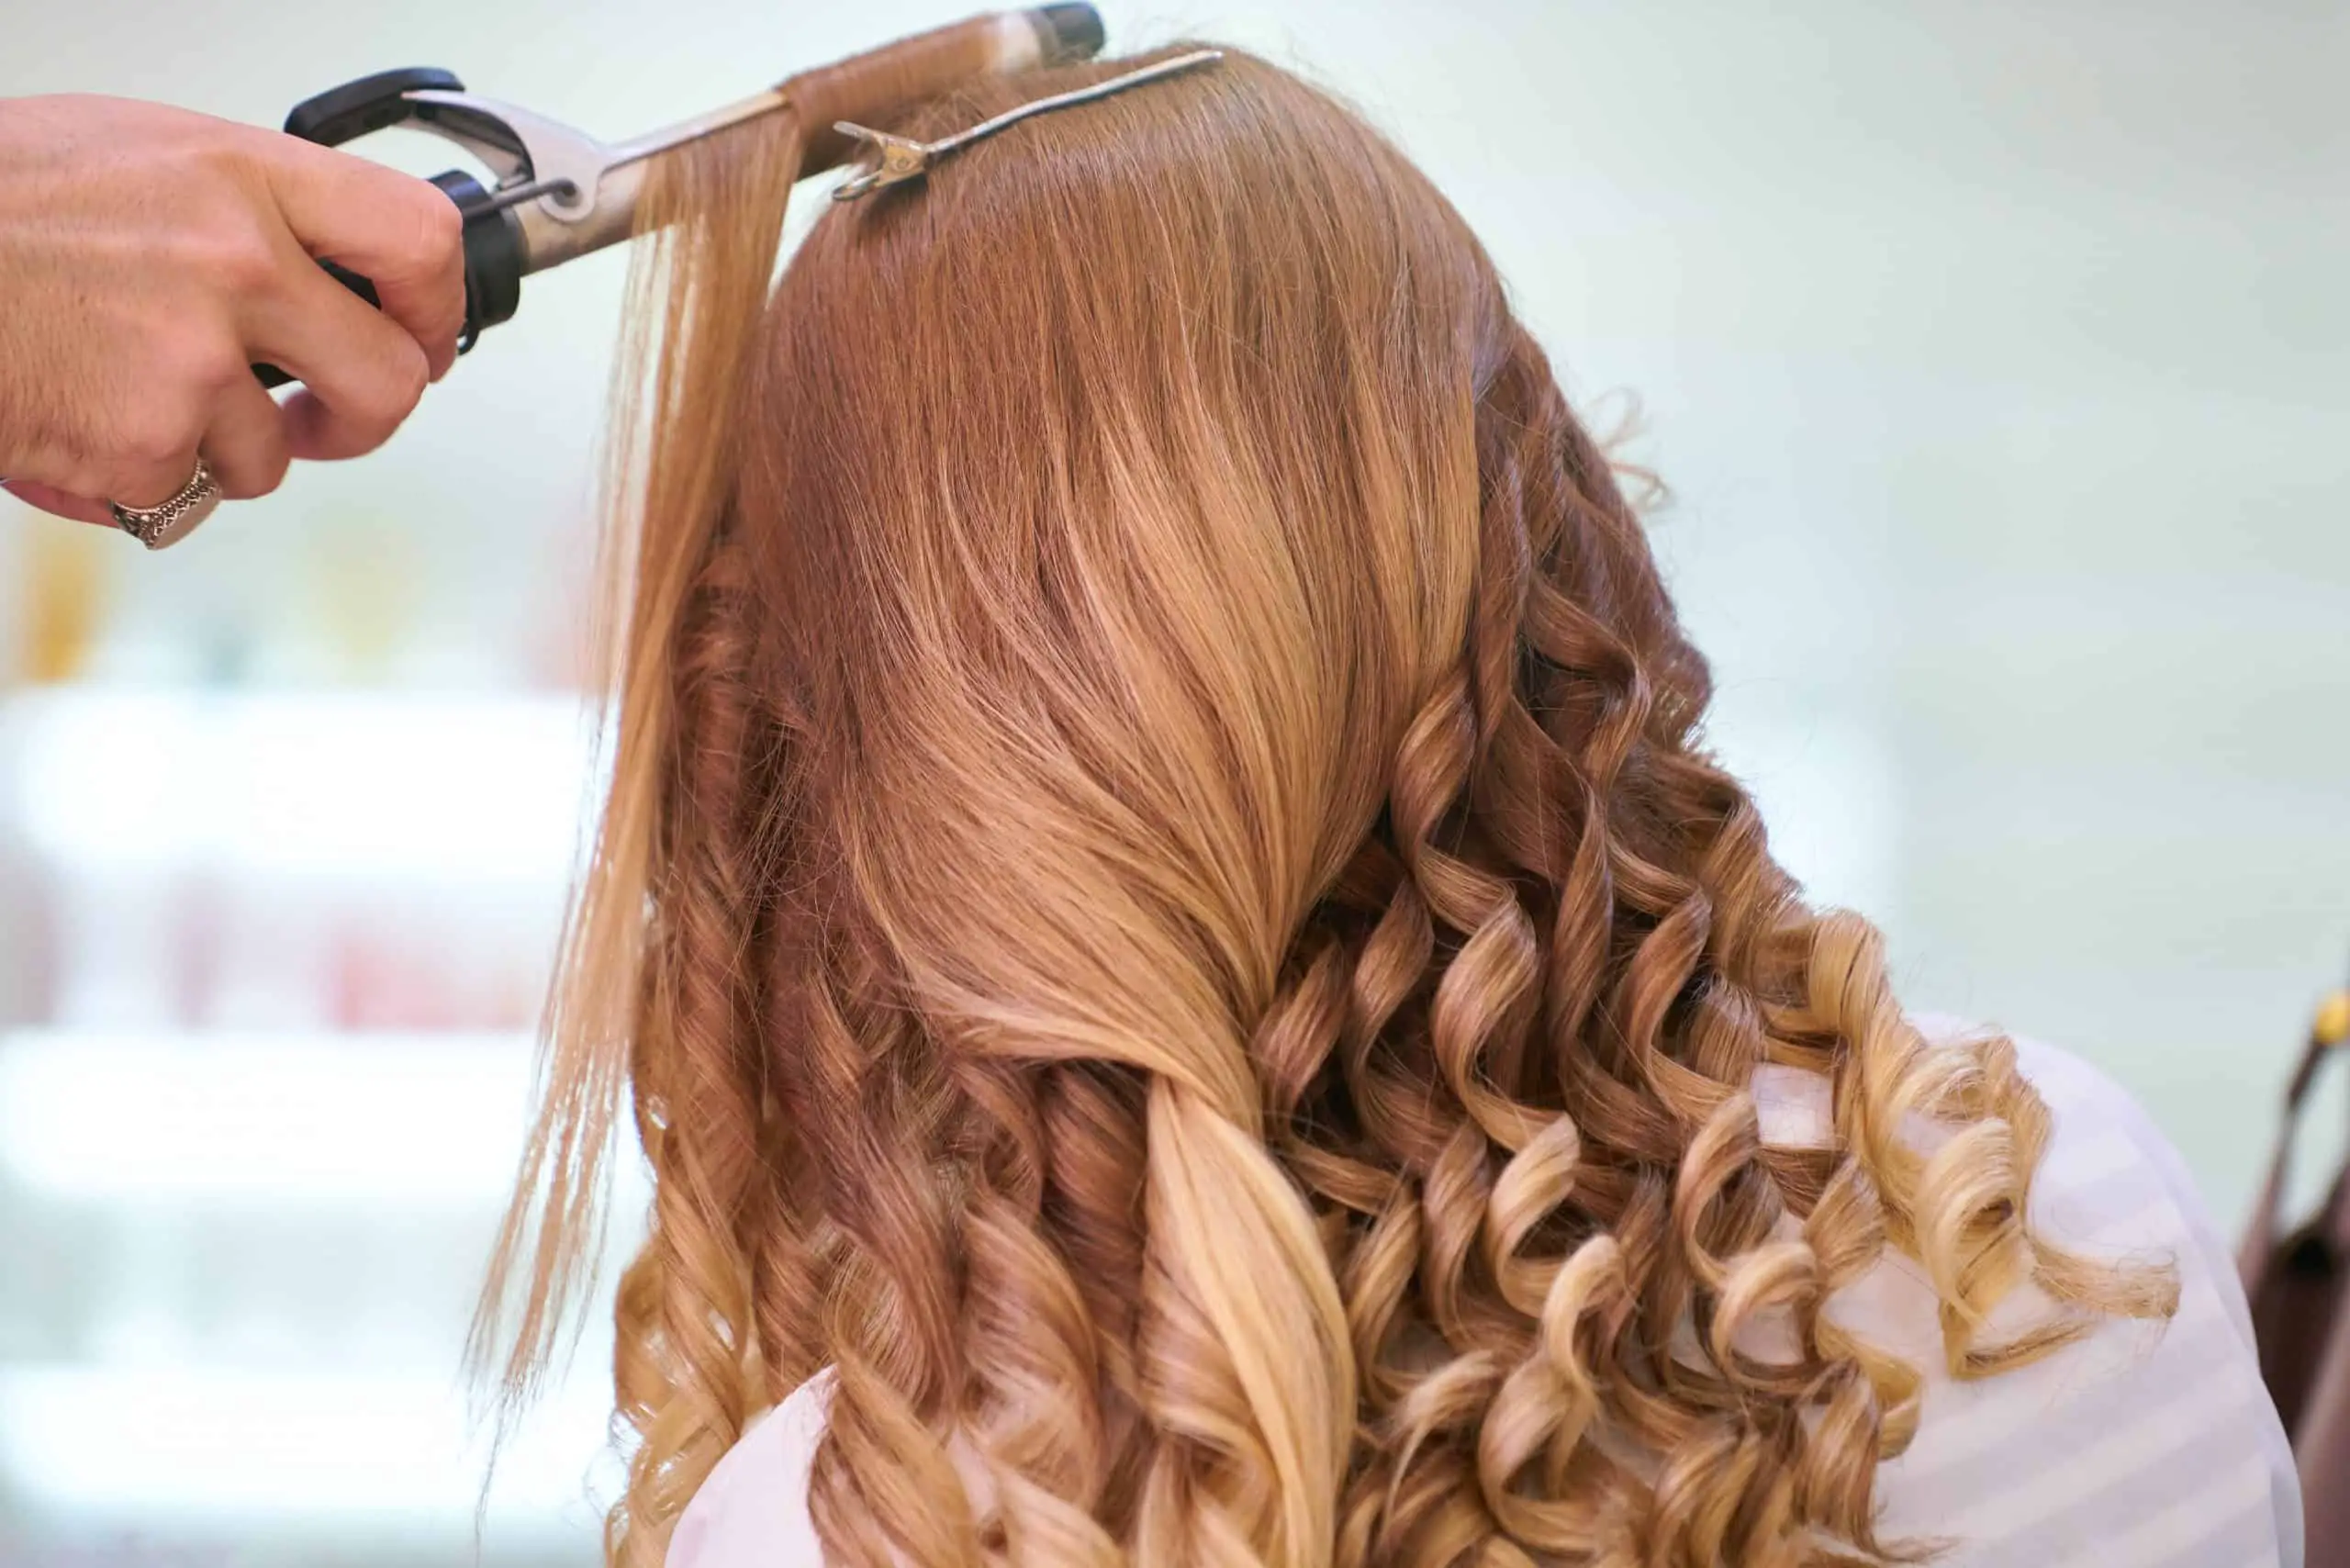
Step 4: Begin curling your hair with the tongs
Once your hair is split into sections, it is time to begin curling. Take a small portion of your hair near the front of your face, and clamp your tongs about half an inch away from your ends. Roll the section away from your face and upwards toward your roots. Make sure that the sections of hair you curl fit within the tongs perfectly, and that no ends come out of the tongs.
If you want your short hair to have more body and volume when you curl your hair, it is beneficial to curl as close to your roots as possible, without burning yourself. This will help to create lift to your strands, which can also be shaken out later to create looser waves. It is helpful to wear a heat protectant glove so that you can control your curling tongs more easily, and to avoid any burns.
Step 5: Hold the tongs in place and then release
Hold the tongs in place in your hair to create the curl and keep it intact, which for short hair it should take about 5 to 10 seconds. After that time has passed, gently release the tongs and slowly let down your curl. To keep each curl intact, softly catch the curl in your hand as soon as you release your curling tong from it. Hold the curl in your hand for about 3 to 5 seconds, and then let go of it.
Step 6: Repeat the curling process to all of your sections
Follow the process explained in steps 5 and 6 to all of your hair in the bottom section you created. After the bottom section is complete, push the curls to the back of your head. Release the clip or pin from the top layer of your hair, and curl all of the hair in that section following the same steps.
Make sure that you are still curling each portion of hair away from your face, especially the sections of hair that are around your face. This will allow your curls to have a steady flow across your hair. If you want more diversity to your curls and to make them less regulated, you can curl the sections near the back of your head in different directions.
Step 7: Complete your beautiful curls
Once all of your hair is curled, it is time to finish them up. Gently run your fingers through your hair to loosen up the curls, if you don’t want them to be tightly-coiled. To create some lift to your curls, shake up the hair at your roots. Try not to brush or comb through your curls at this point, because this might cause the curls to fall or your hair to become frizzy.
Lightly mist some hairspray or texturizing spray onto your hair, to help keep the curls intact for a longer period of time and to minimize the amount of frizz that may occur throughout your day. Make sure that you do not spray too much product on your hair, as this will weigh your curls down and may cause them to fall.
If you’re looking for a simple way to get bouncy, gorgeous curls even if your hair is on the shorter side, it is important to know how to use tongs on short hair. By considering factors such as the material the tongs are made of, the size of the barrel, and the shape of the barrel, you can find the perfect tongs for you to use on your hair type and hair length.
While using curling tongs on short hair may take a little while to get used to, be sure to practice curling your hair with the tongs a few times before doing it before an important event or specific plans that you may have. By following the steps above and taking the tips into consideration while styling your short hair with curling tongs, you will have beautiful curls in no time!
