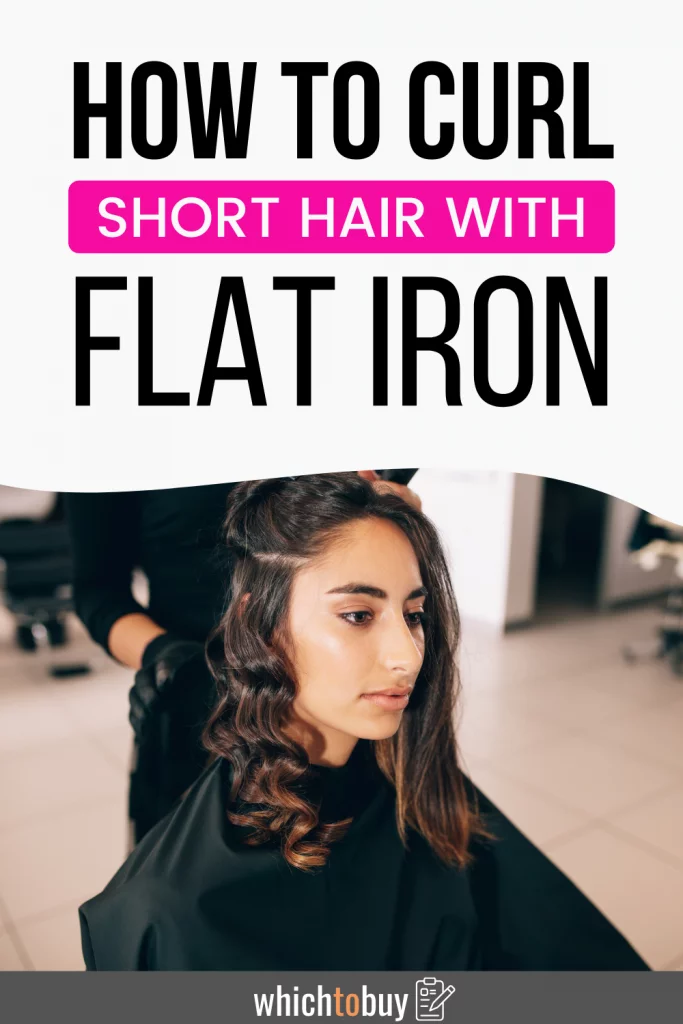
Curly hair shouldn’t only be an option for the woman with long hair. Curling short hair may be harder, but it’s still doable. Curling irons aren’t always the best tool to achieve that desired look, especially when your hair is at a shorter length. Fortunately, there’s another way! Straighteners aren’t only for straightening hair. The hot iron works great for twisting even the shortest of hair, giving it that desired and curly look. And the best part about short hair is that it won’t take long! So, we’re here to show you how you can curl short hair with hair straighteners.
Table of Contents
- 1 How To Curl Short Hair With Straighteners
- 2 What You’ll Need
- 3 Step 1: Wash and dry hair
- 4 Step 2: Thoroughly brush out hair
- 5 Step 3: Wipe down your straightener
- 6 Step 4: Turn on straightener and apply a heat protectant to your hair
- 7 Step 5: Section off your hair
- 8 Step 6: Start curling
- 9 Step 7: Check your hair from all angles
- 10 Step 8: Apply texture spray
- 11 Step 9: Comb your fingers through your hair
How To Curl Short Hair With Straighteners
Curling short hair with straighteners is an easy process. You’ll likely already have everything that you need at home!
What You’ll Need
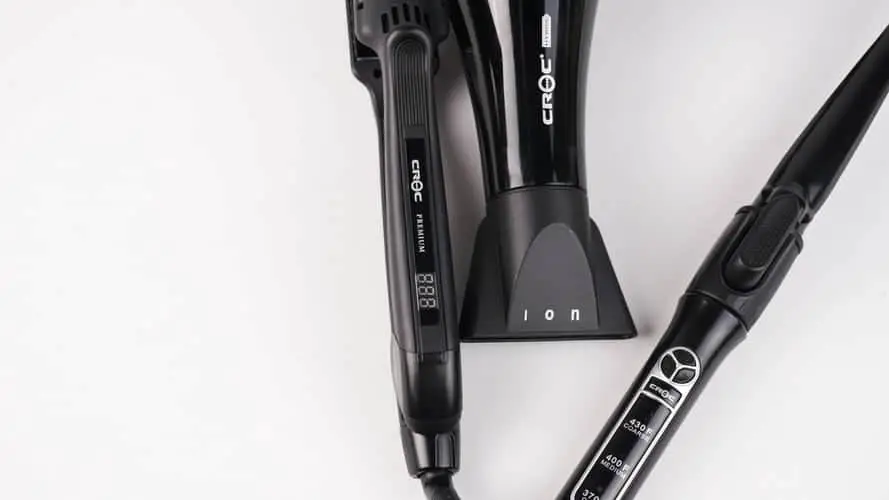
- A hair straightener/flat iron (shop our favourites here – it’s recommended to use a slimmer straightener for short hair)
- A hairbrush (preferably with natural bristles)
- Heat protecting spray or cream
- Shampoo and conditioner
- Hair clips or elastics
- Texture spray
Step 1: Wash and dry hair
You’ll want to start this process with clean, dry hair. So, hop in the shower and use your favourite shampoo and conditioner. If you’re in a rush, you can always use a hairdryer to speed up your drying. However, decreasing the amount of heat that you use on your head is always the best option to maintain healthy hair.
Ensure that you’re using heat protecting spray or cream if you choose to use a hairdryer.
Step 2: Thoroughly brush out hair
You can’t get curly hair if it’s knotted. Use your hairbrush to make sure that there are no tangles before you move on with the curling. We recommend using a hairbrush with natural bristles as it will reduce the risk of damage to your hair. They’re also made to massage your scalp, increasing blood flow and promoting healthy hair growth.
Step 3: Wipe down your straightener
Your straightener needs to be clean before you start using it. If you typically use your straightener for straight here, there’s a chance that there’s been gunk or other debris building on it. You’ll be wanting a fresh start, so wipe it down with rubbing alcohol and a damp cloth. Make sure that your straightener is turned off, unplugged, and completely cool. Once you’ve finished cleaning it, you can dry it off with a dry towel or washcloth.
Step 4: Turn on straightener and apply a heat protectant to your hair
You should turn on your hair straightener now to start warming it up. If you have thin hair, make sure you aren’t setting it any higher than 200 degrees. For thicker hair, you can increase it anywhere from 200 to 300 degrees.
Now that your straightener is warming up, apply a heat protectant. This should be done any time you use heat on your hair. This protects your hair from damage. It will also help to seal in moisture and reduce frizz, making it smooth and soft.
No products found.
Step 5: Section off your hair
Section off your hair using clips or hair elastics. Depending on how short your hair is, you should have between 3 and 5 sections. The top layer of your hair should be gathered on the top of your head and will be done last. This is done to make sure that each piece of hair is being given the same amount of attention, and also to prevent you from forgetting a spot.
You can use hair elastics or clips for this portion. However, using hair elastics may increase your chances of tangling your hair again, and will take longer to remove once you get to that section. Hair clips are easier on your hair and make the process more simple.
Step 6: Start curling
Gather a small section of hair, starting with the one closest to your face. You’ll gather the hair, pointing the flat iron down. Gently twist the hair towards (or away from) your face, and go down with the straightener. You don’t want to hold the straightener on your hair for too long, or you’ll burn it. So, you’ll never hold the straightener in the same place for more than two seconds. Repeat this for each section of your hair, moving from the front of your face to the back of your head.
It’s recommended to alternate the way that you curl. So, when you grab your first section, you can curl it away from your face. The next section will be curled towards your face. Repeat this process until finished.
- The Best Heated Rollers Reviewed – Get the Curls You Have Always Wanted
- The Best Hair Wavers for Flawless Hair
Step 7: Check your hair from all angles
There’s nothing worse than styling your hair, only to realize that you forgot a section. Using mirrors, look at your hair from all angles. This allows you to make sure that you thoroughly curled each area. If you missed a spot, it’s easier to go back in and fix it. You can turn off and unplug your straightener after you’ve checked your hair from every angle.
Step 8: Apply texture spray
Spray texture spray all over curled sections, avoiding your roots. This spray will accentuate the natural shape of your hair, adding texture and volume to it. They also help hold the curls in for longer without using stiff and smelly hairspray.
No products found.
Step 9: Comb your fingers through your hair
Be careful if you’re planning on using a brush on your freshly curled hair. This can destroy the curls that you’ve just spent so much time building. Instead, gently run your fingers through your curls to calm them down and make them look more loose and natural. Flipping your head to do this can also make your hair look more “lived-in” and natural if this is your desired look.
Your hair should now be curled and ready to go! Always make sure that you’ve fully turned off your straightener before moving on with your day. By using this heated method of curling short hair, your curls should last for a full day. Not a fan of using heated methods of curling hair? Check out our how-to guide on how to curl hair using rollers.