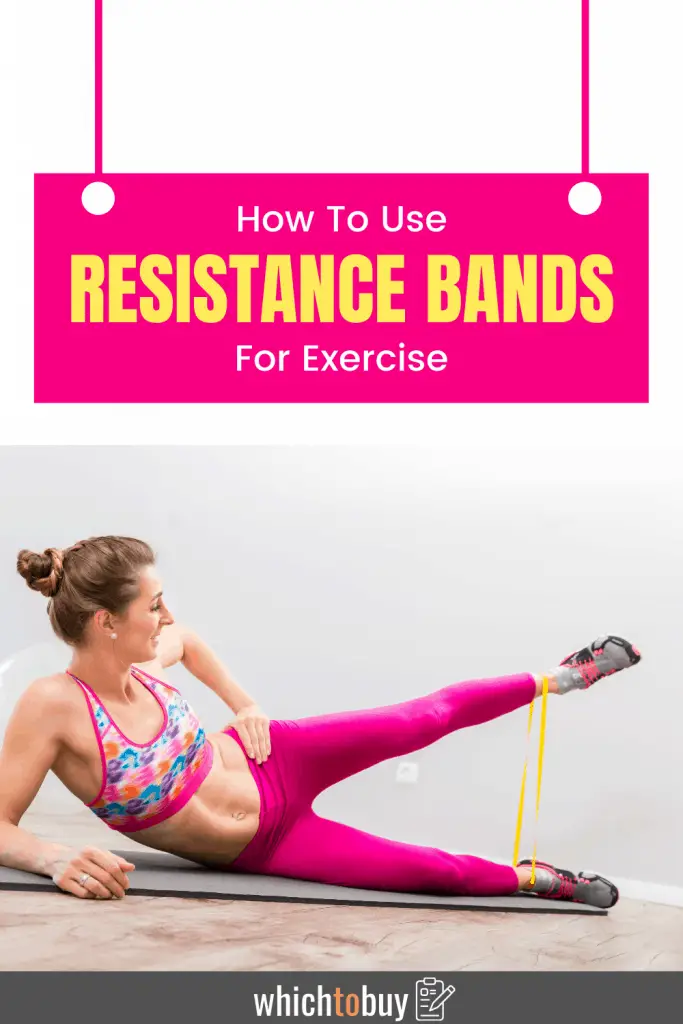
Are you looking to add some exercise to your daily schedule? Finding time to hit the gym can be a bit demanding, but you can always workout at home. If you’re worried that you don’t have the proper equipment, the good news is that you don’t need anything special. Make sure that you have some space and let us teach you how to use exercise bands at home!
Exercise bands, also called resistance bands, can be used by anyone, at any fitness level. They will add an extra challenge to a regular bodyweight workout, but won’t put the same type of pressure on your joints like dumbbells do.
It doesn’t matter if you are just starting out or if you’re already at an advanced fitness level, resistance bands will give your muscles a good challenge.
Table of Contents
Best Tips On How To Use Exercise Bands At Home
Resistance bands can be used to work out any, or better said, every part of your body.
There are two ways you can incorporate resistance bands in your workouts:
- Strength/Total Body Workout – use resistance bands to exercise your entire body or a specific body part. Choose up to five different exercises and make sure to do them for 8-15 reps and repeat 2-5 rounds/sets. The number of repetitions and rounds depends on your fitness level.
- Warm Up – use exercise bands during warmup to activate a specific muscle group. For example, if you rarely feel your glutes while working out, make sure to activate the muscles by doing some lower body exercises with an exercise band. Do as many reps as you need until you feel the muscle working.
Also, they are an excellent solution for targeting the smaller stabilizing muscles that we usually don’t activate during our workouts. Here are some of the best resistance band exercises you can do in the comfort of your home.
No products found.
Lower Body
Everyone knows that the best way to exercise your entire lower body is by doing squats. Regular, weightless squats can do the trick, but once you add an exercise band to this routine, you will start feeling the burn.
Here is how to do the front squat by using a resistance band. Place your feet slightly wider than shoulder-width and stand on the band. Then, take the bands in each hand and bring the top of the band over each shoulder. If it is too long, secure the band in place by crossing your arms at your chest.
When squatting, remember to keep your back straight, abs firm, chest up, and to press the knees out over your toes. Repeat the exercise for 8-12 reps per set.
Lie down on your belly and loop a band around one of your ankles. You should anchor the other end to a door (or something firm and stable) for support. Then, move away from the anchor to create some tension.
To do this exercise correctly, you have to bend your leg at the knee and bring the heel toward the glutes as far as you can go. Make sure to keep your core tight the entire time. Then, slowly bring your leg to the starting position. Repeat the exercise 10-15 times and then switch sides.
Here is one glute killer for you! Tie the exercise band right above your knees. Then, lie on your back, feet on the floor, and bend your knees to 90 degrees. Raise your hips from the floor until they align with your shoulders and knees. Make sure to squeeze your glutes every time you raise your hips from the floor. Do 15-20 reps per set.
No products found.
Arms Exercises
This exercise will slightly resemble the front squat. Stand with your feet shoulder-width apart and place the feet over the middle of the resistance band. Grab the ends of the band in each hand and place your arms down at your sides.
Then, pull your arms toward your shoulders with palms facing in front of you. Make sure that you bend at the elbow until you feel that bicep contraction. Then, slowly lower your arms to the starting position. Do 12-15 curls per set.
Well, the point of this exercise is just to kick back and relax. Just kidding! We’re here to help you get a good sweat.
Anyways, the right way to do this exercise is to stand in a forward lunge position with one foot in front, positioned over the center of the band. Hold the ends of the band, and put your arms at your sides. Make sure that your palms are facing behind you.
Keep your elbows tucked by your sides and bend them until your forearms are parallel to the floor. Press down your arms and push the band behind your body until your arms are fully extended. Return your hands to the starting position and do this exercise for 8-10 reps.
Are you ready to start showing off your guns? Start in a lunge position, one leg in front, and place the middle of the band under your foot. Place one end of the band in your right hand and rest your elbow on the inside of your knee. This way, you will target your biceps a bit better.
Curl the band toward your shoulder, with the palm facing away from the knee. Don’t forget to squeeze the biceps at the top! Slowly return to the starting position. Do 8-10 reps before switching sides.
- How to do Exercise at Home Without Equipment: Your Complete Guide
- 43 Best Garden Game Ideas For Outdoor Fun
Core Exercises
The first thing you need to do before starting this exercise is to attach the band to a high anchor such as the top of a door. Then, grab each side of the band and kneel. Extend your elbows out at shoulder level, tighten your core, and crunch down while contracting your abs. Slowly return to the starting position and repeat the movement 10-12 times.
Here is your ordinary crunch with some modifications. Anchor the exercise band on low support and lie on your back, bending your knees 90 degrees. Wrap the band around the top of both of your feet and scoot back to create some resistance.
Make sure that your abs are tight and back flat. Then, pull your knees toward your shoulders, contracting your abs. Do 12-15 reps before proceeding to the next exercise.
This is one excellent ab exercise that will leave your entire core burning (in a good way). Sit on the floor and extend your legs. Wrap the center of your resistance band around the bottom of your feet and grab the free ends in each hand. Then, slightly bend your knees while keeping your feet on the floor and lean back at a 45-degree angle.
To rotate the band the right way, bring your left hand across your body and your right hand down by your right hip. While contracting your obliques, bring the band toward your right hip. Your middle and low back should stay neutral throughout the exercise.
Make sure to do 10-12 reps on each side!
No products found.
Back Exercises
No, this exercise doesn’t involve you lying in your pullover. On the contrary, this exercise will work out your pec and lat muscles. But you’ll still get to lie on the floor!
Anchor the band in a low position and lie on your back. Then, grab the free end of the band with both hands and stretch your arms straight out overhead.
Pull the band overhead, while keeping your elbows slightly bent, and cross your torso until the ends of the band reach your knees. Do at least 8-10 reps.
Ready to work out your upper back? Then grab your exercise band and anchor it overhead to a horizontal bar (or anything horizontal, such as a tree limb). Then, pull the free ends at your sides and kneel so that the band is in front of you.
Grab each end of the band with arms extended overhead and wider slightly than shoulder width. Bend your elbows, pull the band down toward your floor and make sure to contract your back muscles. Keep it up for 10-12 reps!
Here is one amazing exercise that will target your upper body. Place your feet shoulder-width apart and stand over the center of the band. Then, bend your knees slightly and hinge at your waist. Make sure to keep your hips back.
Grasp the ends of the band with your hands facing the outsides of your knees. Keeping your elbows bent, pull the band up toward your hips and squeeze your shoulder blades together until your elbows form a 90-degree angle. Rock this exercise for 10-12 reps!
After reading our guide, we’re pretty sure that now you know how to use exercise bands at home. This inexpensive piece of equipment will make your workout as challenging as if you were at the gym! In addition, resistance bands are sometimes even better than barbells or dumbbells, since they allow you to perform exercises in both the vertical and horizontal plane.
Which part of the body do you like working out the most and why? Also, don’t forget to let us know which exercise will you be trying out first!