Are you tired of the exhausting arm workout you endure while attempting to give yourself a major blowout or a beautiful hairstyle while using traditional hair dryers, straighteners, and curling irons or wands? If this pertains to you, it is time for you to learn how to use ceramic rollers. While ceramic rollers are typically thought of as a styling tool for glam in the past, they are actually still extremely common in today’s society as they work easily and efficiently to create gorgeous curls on any hair type.
By using ceramic rollers, you will get gorgeous, voluminous curls that will actually be created for you once you wrap them into your hair. Once the rollers are in your hair, they do all the work as they create the beautiful curls and keep them intact even when they ceramic rollers are taken out. In addition to requiring less effort to use than it takes to use typical hair dryers, hair straighteners, and curling irons or wands, ceramic rollers also causes less heat damage on your hair than the other styling tools do.
Table of Contents
- 1 7 Steps to Using Ceramic Rollers
- 2 What are Ceramic Rollers
- 3 How to Use Ceramic Rollers
- 3.1 Step 1: Prepare the ceramic rollers and your hair
- 3.2 Step 2: Separate your hair into sections
- 3.3 Step 3: Begin rolling your hair
- 3.4 Step 4: Continue rolling all of the sections in your hair
- 3.5 Step 5: Allow the ceramic rollers to cool in your hair
- 3.6 Step 6: Remove the ceramic rollers from your hair
- 3.7 Step 7: Finalize your curls
- 4 Tips for Using Ceramic Rollers
7 Steps to Using Ceramic Rollers
- Step 1: Prepare the ceramic rollers and your hair
- Step 2: Separate your hair into sections
- Step 3: Begin rolling your hair
- Step 4: Continue rolling all of the sections in your hair
- Step 5: Allow the ceramic rollers to cool in your hair
- Step 6: Remove the ceramic rollers from your hair
- Step 7: Finalize your curls
What are Ceramic Rollers
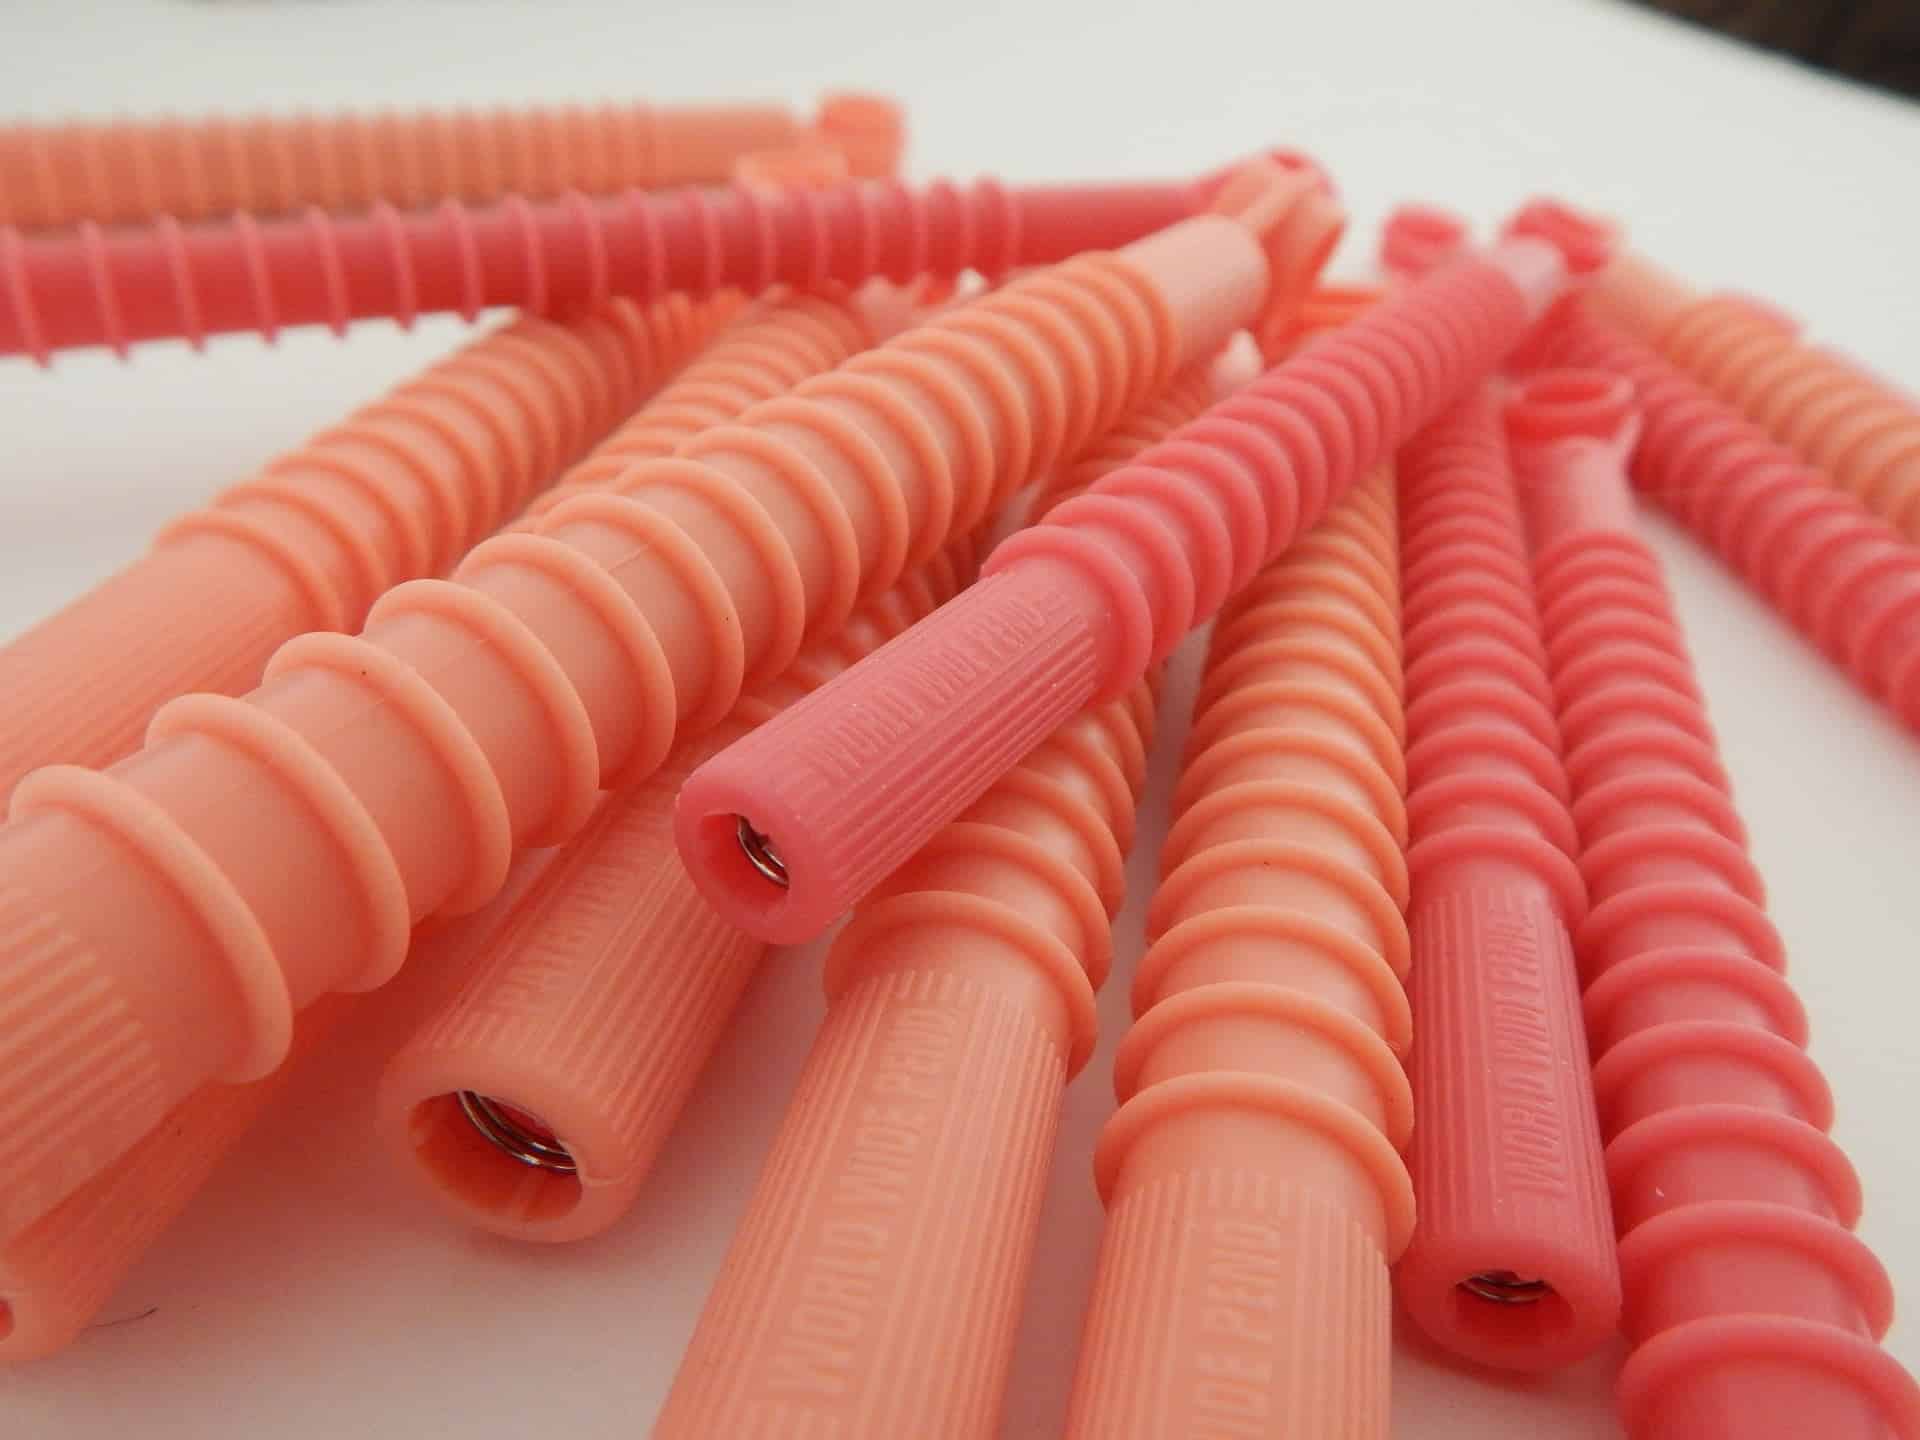
Ceramic rollers are round tubes that often have bristles or ridges on the outside of them, that heat up to curl your hair. They come in a box that includes a cord that you plug into an electrical outlet before using, which allows them to heat up. The ceramic rollers come in various sizes that you can choose between, based on your hair type, length, and thickness. You want to be sure that you choose the correct ceramic rollers for your type of hair, to get the best result possible.
There are different types of heated rollers, but rollers that are ceramic are the best material to use on your hair, especially with the use of heat. Ceramic enables the heat from the rollers to be evenly distributed throughout the entire roller, and through your hair. This leads to less heat damage than other materials, and ceramic adds additional shine to your hair as well. In addition, ceramic rollers are usually lighter in weight than others, and have grips on the outside of them as well to ensure that they hold in your hair.
How to Use Ceramic Rollers
Now that you know what ceramic rollers are and how they are an amazing tool to utilize when you want to curl your hair, it is now time to learn how to use ceramic rollers. Grab your brush or comb, your favorite hair styling products, a few clips or pins, and your ceramic roller set, and let’s get to curling!
Step 1: Prepare the ceramic rollers and your hair
Plug in your ceramic roller set into an electrical outlet, and allow them to fully heat up. If they are not heated up all the way when you begin styling, your hair will not be properly curled, it will take you much longer to style your hair, and you will most likely experience more heat damage on your hair than if you waited until the set was ready.
While your ceramic roller set is heating up, lightly spritz a heat protectant spray onto your dry hair. Even though ceramic rollers create less heat damage on your hair than other heat styling tools, it is still important to protect your hair as much as possible from the high temperatures the rollers will reach.
- How to Put Heated Rollers in Long Hair – 8 Steps to Beautiful Curls
- How to Put Heated Rollers In – 6 Steps to Bouncy Curls
Step 2: Separate your hair into sections
Take your brush or comb, and gently run it through your hair to get rid of any tangles or knots. Split your hair into four even sections, one over each ear, one in the back of your head, and one on the top of your head. Grab your clips or pins and put them into each section to hold them in place.
Within each of the four large sections, you will create a few smaller sections. Separate the top section of your hair into a few additional sections, that are all about the same width as your ceramic rollers.
Step 3: Begin rolling your hair
Grab a portion of your hair from your top section that is approximately the same width as your ceramic roller, and pull your hair upward. Place a roller about halfway up your section and wrap the bottom half of your hair around the roller. From there, roll the entire section upward until you are at your roots, and clip or pin the section in place.
Step 4: Continue rolling all of the sections in your hair
Repeat the directions listed in step 3 to all of the sections you created in your hair, ensuring that you are always rolling away from your face. Once the top section of your hair is completely clipped or pinned in the ceramic rollers, move to one of your side sections. After the first side section is complete, move to the back section, and finish it off with the other side section.
Step 5: Allow the ceramic rollers to cool in your hair
Keep the ceramic rollers in your hair for about 20-30 minutes depending on your hair type, until they are completely cooled. If you remove them too early, your curls will not hold correctly. You can lightly mist hairspray onto your hair while they are in the rollers if you’d like, to create an additional hold in the curls once they are out of the rollers.
While you are waiting for the ceramic rollers to cool, you can do your makeup, pick out your outfit, tackle some chores, or just lounge on your couch. The opportunities are endless, since you do not have to do any additional work while they are sitting in your hair. This gives you extra time while getting ready to knock-out some items on your to-do list, or to just relax!
- How to Use Heated Rollers – 8 Simple Steps for Gorgeous Curls
- How To Curl Your Hair With Rollers in 6 Easy Steps
Step 6: Remove the ceramic rollers from your hair
Once the ceramic rollers have completely cooled, it is time to take them out starting at the back section of your hair. Remove the clip or pin holding the roller in, and gently unravel the roller from the hair. Do this to every roller in every section that you have created, doing the side sections next, and the top section last.
Step 7: Finalize your curls
After all of the ceramic rollers have been extracted from your hair, it is time to finish up your curls. If needed, you can softly run your fingers through your hair to loosen up the curls a bit. Try not to use a brush or comb at this point, as doing so may cause your curls to fall or for your hair to become frizzy.
Lightly spray some hairspray, dry-oil mist, or texturizing spray to your hair, depending on your personal preference for your hair type. This will help to keep your curls intact, decrease the amount of frizz your hair will have, and extend the amount of time your curls will stay in place after the ceramic rollers are removed.
Tips for Using Ceramic Rollers
Now that you know how to use ceramic rollers, there are a few things that you should keep in mind while curling your hair with them to get the best results.
Ceramic rollers should always be used on dry hair only. If your hair is wet or damp, the curls will not hold correctly. Putting damp hair in the ceramic rollers may also cause your hair to be damaged more from the heat than if your hair was dry.
Think about what kind of curls you want before you begin styling. If you want tighter curls, go for smaller ceramic rollers. If you want more volume, go for larger ceramic rollers. You can also mix and match roller sizes throughout your hair if your set includes multiple sizes, to create larger curls in some areas and smaller in others, based on what look you desire.
Unless you want tightly-coiled ringlets, but sure to place your rollers vertically and not horizontally before rolling. Putting them vertically will give a loose and voluminous effect to your curls, while placing them horizontally creates the opposite effect.
To give more definition to your hair, it is best to use less hair in the sections that are near the front of your head. If you do use less hair, be sure to also use a smaller sized roller if you can, so that your hair fits around the roller evenly.
Before you remove the ceramic rollers, it is beneficial to turn your hair dryer to its cool setting, and to use it on your curls. The cool air from the hair dryer has been shown to help keep the curls intact after the rollers are removed, and to add additional shine to your strands.
When you are trying to get gorgeous, voluminous curls without using up a lot of your time and effort, it is important to know how to use ceramic rollers. You can finish up the rest of your getting-ready routine or take on your to-do list, all while your ceramic rollers are creating the curls of your dreams. Now that you know the ins and outs of ceramic rollers and what they can do for your hair, it’s time to get to styling!


