If you have naturally curly hair, you know that your curls can be both a blessing and a curse. While your hair is bouncy and gorgeous on its own, you may have some trouble when it comes to minimizing frizz, especially if you use heated styling tools on your strands. For some wild reason, it seems like the frizz increases dramatically the second that you shut your hair dryer off. If this dilemma relates to you, it is time for you to learn how to use hair dryer for curly hair.
Using a hair dryer on your curly hair is most likely a lengthy and frustrating process, as you try to dry your hair while avoiding a frizz-fest all at the same time. Once you know how to properly use a hair dryer on curly hair, it luckily does not have to be this way whenever you’re rushing to get ready and need to get out the door. Even though it may take a little while to master, you will be able to dry your curly hair with ease once you get the hang of it.
Table of Contents
- 1 8 Steps to Using a Hair Dryer on Curly Hair
- 2 What is Needed to Dry Curly Hair
- 3 How to Use Hair Dryer for Curly Hair
- 3.1 Step 1: Wash and condition your hair
- 3.2 Step 2: Remove excess water from your hair
- 3.3 Step 3: Apply a hair gel or hair mousse to your hair
- 3.4 Step 4: Divide your hair into sections
- 3.5 Step 5: Attach your diffuser to your hair dryer
- 3.6 Step 6: Begin drying your hair
- 3.7 Step 7: Repeat the drying process to all of the sections in your hair
- 3.8 Step 8: Apply hairspray or hair oil to your hair
8 Steps to Using a Hair Dryer on Curly Hair
- Step 1: Wash and condition your hair
- Step 2: Remove excess water from your hair
- Step 3: Apply a hair gel or hair mousse to your hair
- Step 4: Divide your hair into sections
- Step 5: Attach your diffuser to your hair dryer
- Step 6: Begin drying your hair
- Step 7: Repeat the drying process to all of the sections in your hair
- Step 8: Apply hairspray or hair oil to your hair
What is Needed to Dry Curly Hair
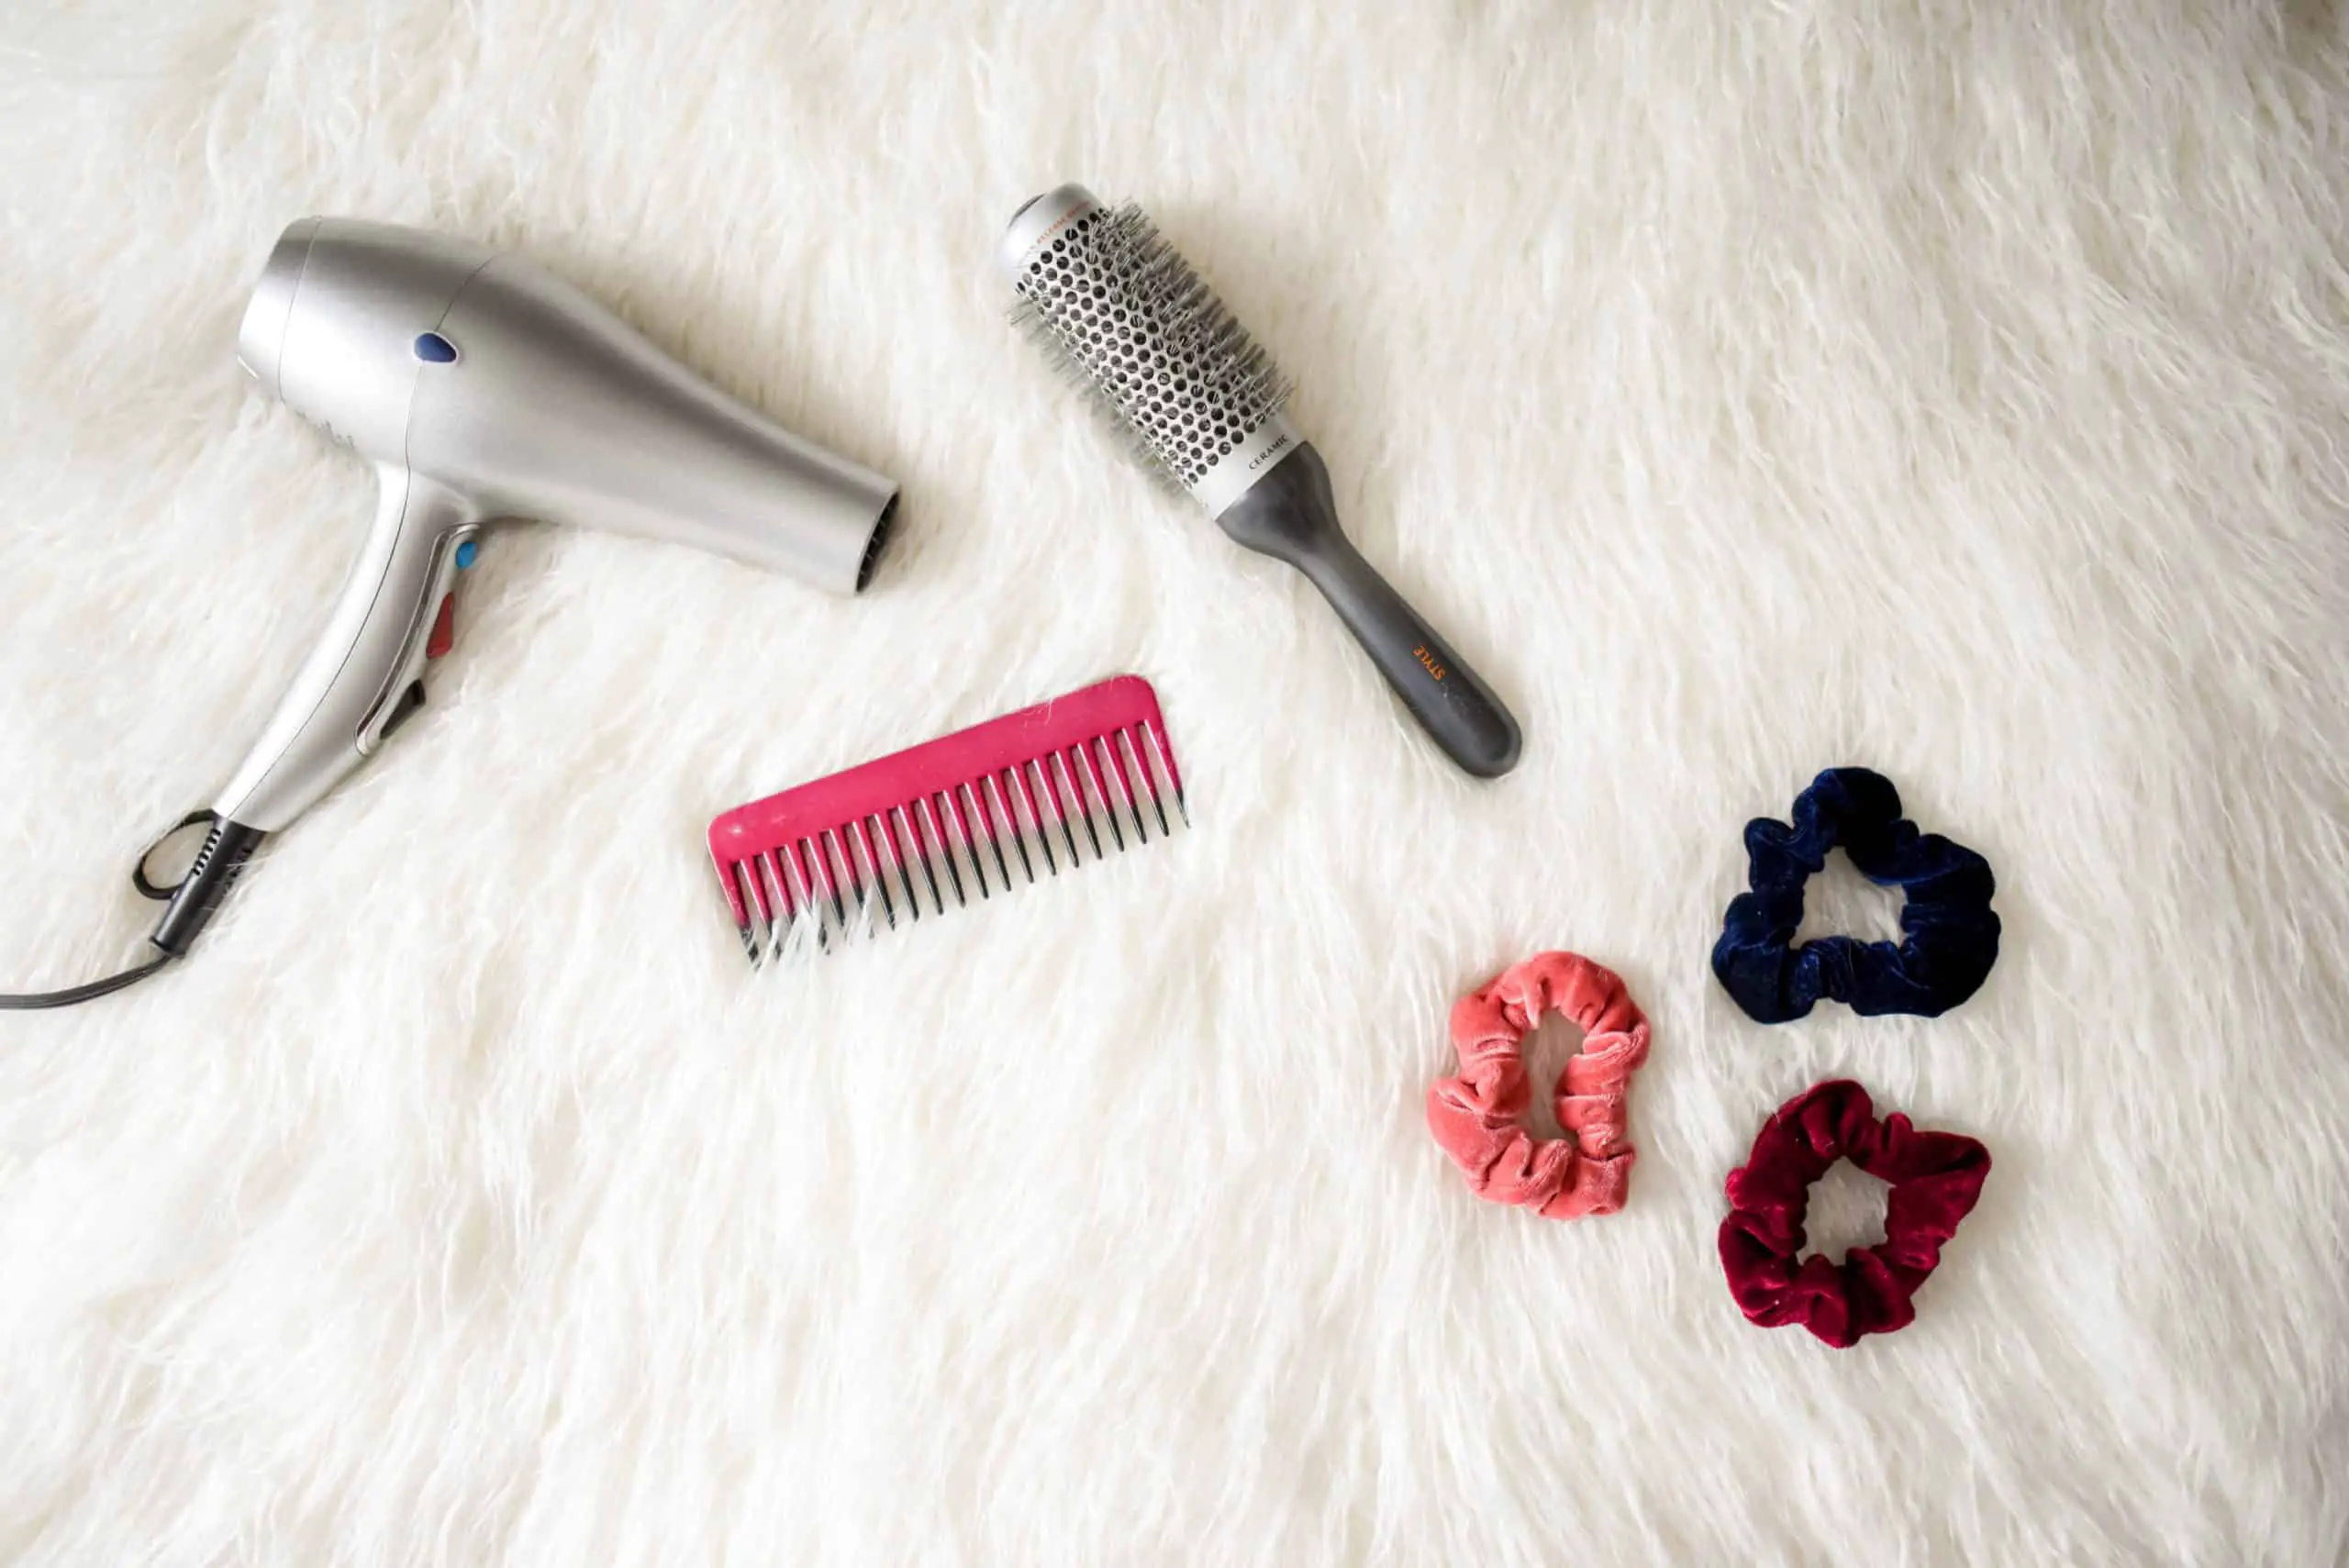
Since drying curly hair is a much more difficult task than drying straight or fine hair, you need to ensure that you are using the proper tools and products to get the best results. Your old hair dryer and your regular hair brush might not do the trick. Here are a few helpful tips to consider when choosing your hair styling tools and products.
First things first, you need to have the correct shampoo and conditioner that are formulated for your specific hair type. Shampoos and conditioners that are made for curly hair will help to create bounce and lift to your curls so they do not fall flat, and will also help to lessen the amount of frizz that will occur in your hair throughout the day.
The next thing that you need to consider for drying your curly hair is your hair dryer. Hair dryer’s are made with a variety of different materials, and some materials work better on certain types of hair than others. For curly hair, hair dryer’s made of ceramic or tourmaline will give you the best results. They will ensure that your hair still has lift for your curls, that frizz is minimized on your hair after drying with it, and that shine is added to your strands.
Your hair styling products are another thing you need to think about before drying your curly hair. Make sure that you have a heat protectant spray or heat protectant serum to use before drying, to guard your hair from the heat and to prevent heat damage. For curly hair it is beneficial to have hair gel or hair mousse to apply before drying, to help your curls stay intact and to give them additional shape. The use of hairspray or hair oil after drying can be beneficial to keeping your curls in place as well.
- The Best Hair Dryers – Get the Style You Want
- How to Use Hair Brush Dryer – 7 Simple Steps to a Gorgeous Blowout
How to Use Hair Dryer for Curly Hair
Now that you know what specific hair styling tools and products you need to dry your curly hair, it is now time to learn how to use hair dryer for curly hair. While using heated styling tools on curly hair is a constant struggle with the thought of extra frizz haunting your every move, it is important to know the correct way to dry your hair to get the gorgeous look of your dreams.
Step 1: Wash and condition your hair
To get the best results from your blowout, it is best to start with freshly-washed hair. Wash your hair with good-quality shampoo and conditioner, in lukewarm water to avoid excess drying to your hair from hot water. As stated above, try your best to choose a shampoo and conditioner that is specifically formulated for curly hair, so that it can better meet your hair needs.
Step 2: Remove excess water from your hair
After you have washed your hair, squeeze the excess water out of your strands before you step out of the shower. Once you are out, gently towel-dry your hair, ensuring that you do not mess up the curl pattern in your hair. Your hair should be partially dry before you use your hair dryer, and not still dripping wet.
Grab your brush or comb and run it through your hair to get rid of any tangles or knots in your curls. It is important that you do this before applying product to your hair or before drying it, so your hair is less likely to get tangled while styling. After your hair is detangled, apply heat protectant spray or serum to your hair to prevent heat damage from occurring.
Step 3: Apply a hair gel or hair mousse to your hair
To ensure that your curls stay intact and your hair does not become extremely frizzy from using your hair dryer, it is important to add a hair gel or hair mousse of your choice to your strands before drying. Apply the hair gel or hair mousse from your roots to your ends to define your curls.
There are different types of styling products for different types of curls. For soft curls, it is best to use sprays, for tightly-coiled curls use a dense gel, and for medium to big curls use thicker gels. Make sure that you do not use more than a dime-size amount of the hair gel or hair mousse, or else your curls might not look bouncy or soft once you are done drying them.
Step 4: Divide your hair into sections
It is easier to dry your curly hair evenly if you divide it into sections first. Start by grabbing the top layer of your hair, and clip or pin it to the top of your head to keep it out of the way. If your hair is long and thick, create additional sections within the bottom portion to make it easier. If your hair is on the shorter side, you might not need to create those additional sections.
Step 5: Attach your diffuser to your hair dryer
Diffusers are best to use on curly hair because they disperse air more evenly throughout the vent of the hair dryer than the normal vent does, which allows a more even dry throughout your curls. Diffusers also help to prevent frizz from occurring in your hair.
- What Does a Diffuser on Hair Dryer Do? Our Guide
- What Do Hair Dryer Attachments Do? A Guide To The Perfect Dry
Step 6: Begin drying your hair
Once the diffuser is attached to your hair dryer, you can begin drying your curls. Grab the first section of hair and start drying at your roots, slowly working your way down to your ends. Consistently move your hair dryer around within the section so that you do not hold it in place too long leading to heat damage.
Start with your hair dryer on a low heat setting, and work your way up to a medium heat setting if needed while you are drying your hair. It is best to use the lowest heat setting as possible, to help prevent break heat damage and breakage from occurring to your hair.
Step 7: Repeat the drying process to all of the sections in your hair
Complete the directions explained in step 6 to all of the sections that you created in your hair. Make sure that you are styling from your roots to your ends, and that you use the least amount of heat possible on your ends, as they are more prone to heat damage than the rest of your hair.
Step 8: Apply hairspray or hair oil to your hair
After your curls are completely dry, it is time to finalize your hairstyle. Lightly mist a holding hairspray or apply a hair oil to your strands to help keep your curls intact for longer periods of time, and to add additional shine to your hair. Using hairspray or hair oil will also help to prevent frizz from occurring on your hair as you go on throughout your day.
If you are terrified of the frizz that will appear from using heated styling tools on your hair, specifically a hair dryer, it is time to say goodbye to your fears. It is crucial that you know how to use hair dryer for curly hair. Even though it may take some trial and error until you get it right, you will have beautifully dried and styled curls when you finish. Grab your brush or comb, your favorite hair styling products, and your hair dryer, and get to drying!