Building your stomach muscles, whether to slim your waist or get abs, is one of the biggest fitness goals that many people have. While you may think that the key to reaching this goal requires hours spent in the gym, you may be wrong! There are plenty of tricks on learning how to do abs exercise at home. So, you can start getting to work on those muscles without having to leave your house! We’ve found some of the best exercises that will teach you how to do abs exercise at home.
Table of Contents
How to Do Abs Exercise at Home
Before you get started on all the great exercises and learning how to do abs exercise at home, you should make sure that you have a routine in place. These are all exercises that require dedication. So, pick at least three days a week, and set a goal of working on these exercises on each of these days!
Ab exercises at home can be done alone. However, you can also easily build them into the rest of your workout routine for maximum fitness gains.
Many of these exercises can be done on the floor, though it may be uncomfortable and hard on your back or bottom. We recommend purchasing a yoga mat or other gym mat to do your workouts on for safety and comfort.
No products found.
- Seated Russian twists
- Crunches
- Reverse crunch
- Bicycle crunches
- The plank
- Abdominal holds
- Dumbbell side bends
- Yoga poses
Seated Russian Twists
This workout is simple, yet effective. Start by sitting on the ground with your knees bent. Align your body so that you’re sitting perfectly upright, and then lean back a few inches so that you’re still relatively far from the ground.
Once you’re in position, put your hands at your chest for balance. Twist your torso slowly to the right and then to the left. This is one full rep.
This exercise should be done for at least 15 reps. The number can be increased as your abdominal strength increases. Additionally, you can also hold a plated weight in your hands and move it to the side to further increase the difficulty of this exercise.
Crunches
Crunches and sit-ups are the most well-known ab exercise and for good reason. They’re easy to do and they are a great way to analyze your progress. You may have already learned how to do them in the past, but we’ll give you a quick reminder.
Start by laying down on your back with your feet planted on the floor, hip-width apart. Make sure that your knees are bent at a comfortable angle and place your hands across your chest, falling near your shoulders. Exhale while lifting your upper body and inhale as you return to a starting position.
Crunches are different than sit-ups as with sit-ups your body comes all the way up to your knees. This is also a great workout, but crunches are designed to only work the abdominal muscles.
You can try and go for as many crunches as you can manage, but this will make it harder to form a routine and set goals. So, your reps can be based on what you feel comfortable with, but you should still have a set number in mind. Three sets of 10 to 20 is a good place to start.
Reverse Crunch
The reverse crunch comes with all the great benefits of a regular crunch while mixing it up a little.
Lay down with your back on the floor, placing your hands palm-down on the floor beside your body. Bring your knees toward your chest while keeping your legs and feet together. Once you’re in position, curl your hips from the floor, moving toward your chest before lowering them back down.
The most important thing to remember during this exercise is that you shouldn’t be swinging your legs. You should fell all the effort in your abdominal muscles.
Do as many reverse crunches as you can in one minute. Repeat this three times.
Bicycle Crunches
This exercise is another variation of the basic crunch that moves your body even more.
Begin by lying flat on the ground with your back to the mat. Place your hands behind your head, pulling your elbows in. With your legs raised in the air, bring both knees toward your chest while lifting your shoulder blades off the ground. Begin rotating your body, pushing one leg out while pulling your opposite elbow to the knee. Switch sides after each rotation.
Do two sets of 25 reps each.
The Plank
Planks are a workout that looks easy but is incredibly difficult to master. Fortunately, they’re a great way to track your progress and feel your strengthening ab muscles.
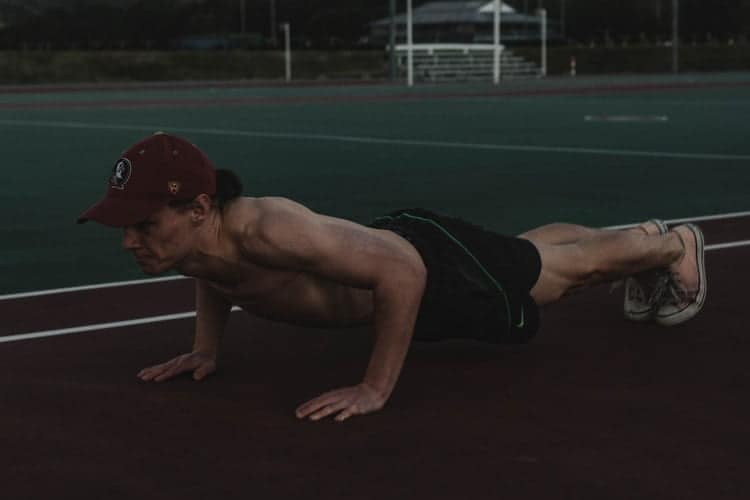
To begin a standard plank, put both hands directly under your shoulders. The position will resemble the start of a basic push-up. Push your toes into the floor, squeezing your glutes so that your body is stable. You shouldn’t feel locked in place, but your body should feel firm. Line your head up with your back and pick a spot on the floor to look at so that you stay in position.
Hold this position for 20 seconds. As your abs get stronger you should begin extending this time by 5-10 seconds as you work your plank time up.
There are other variations of the plank, such as the forearm plank or the knee plank. Knee planks are easier to hold and are recommended for beginners. They are done the same as a regular plank, but you keep your knees on the ground.
Forearm planks are also a slightly easier variation, and allow you to keep your forearms on the floor and parallel to your body. This version is significantly easier on the wrist for those who have any wrist or arm injuries.
Abdominal Holds
This is a great way to work your abs while using a prop for additional support.
With an abdominal hold, you’ll also need a bit of arm strength. Begin by sitting on the edge of a chair (ensure that it’s stable enough to hold your weight). Put your hands on the edge of the chair, keeping your fingers in the same direction as your knees.
Lift your bottom off the chair, bringing your feet up off the floor at the same time. You should be using your arms to hold your body entirely off the chair.
Like with planks, this exercise can be done for as long as you can, aiming to build your time. However, with this exercise, you should continue to do reps. Try to hold this position for 10 seconds at first before lowering your body. Repeat five times.
Dumbbell Side Bends
No products found.
You’ll need a single dumbbell for this workout. It should be at a weight that you can comfortably lift without too much struggle, while still being heavy enough that you can feel it in your arm.
Stand straight with your feet hip-width apart. Hold the dumbbell in either hand, with your palms facing inward. Keeping your back straight, activate your core and bend the dumbbell side of your body to the side as far as possible without moving your lower body. Hold the position for up to two seconds before returning to the start. Do 15 reps on each side.
No products found.
Yoga With Ab Poses
If repetitive reps aren’t your thing but you still want to learn how to do abs exercise at home, there are also a variety of yoga poses that are excellent for building your abdominal muscles. They’re also a great form of exercise to introduce at the beginning of your workout as a warm-up or to incorporate into your cool-down.
The boat pose works on your ab muscles and your thighs. Begin by sitting on the floor with your legs straight in front of your body. Lift your legs, keeping them straight and shoulder-width apart, extending them upward. Extend your arms in the same direction, keeping your palms facing inward. Hold this pose for 20 seconds, increasing your time with practice.
The bridge pose is another great yoga pose for ab muscles. Lay on the floor with your feet flat on the ground, bending your knees like you would for a crunch. Raise your hips so that they are angled with your knees. Extend your arms so that your palms are joined together, placing them under your raised hips. Begin holding this pose for 30 seconds, increasing until you can hold it for a full minute.
Not only does having strong core muscles look good, but it can also help with your overall fitness. You’ll have more endurance and be less prone to injuries while improving any back pain. It’ll also help you advance at other fitness goals, like running. Since learning how to do abs exercise at home is simple, you should aim to incorporate it into every workout.
Not sure how to get started exercising at home? Check out our guides for the optimal home gym set-up and learn how to start exercising in the morning.


